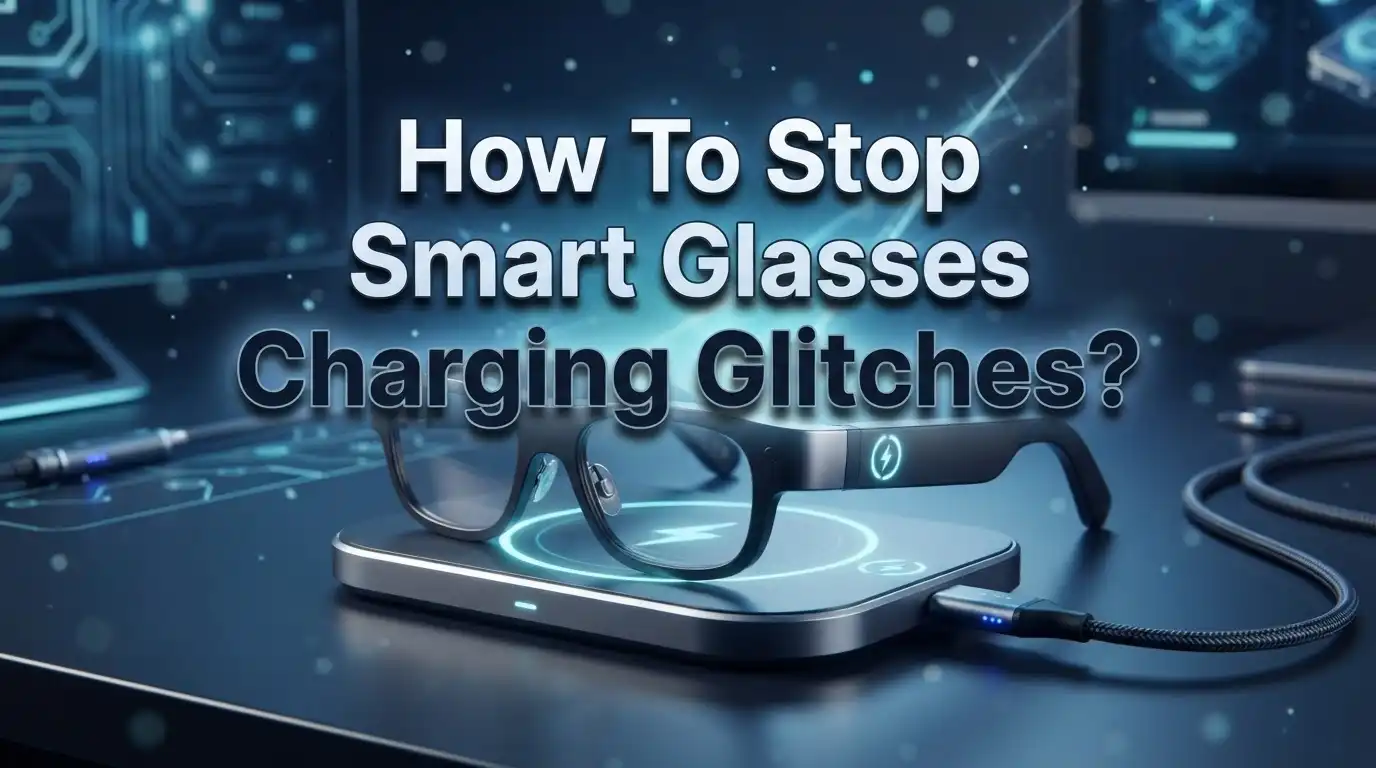
How To Stop Smart Glasses Charging Glitches?
Smart glasses are impressive pieces of technology, but charging glitches can bring everything to a halt. One moment your glasses are working perfectly, and the next they simply won’t charge at all.
The good news? Most charging problems are fixable at home. You don’t need special tools or technical skills to get things working again.
Charging failures often come down to a few simple causes. Incorrect case positioning, a skipped setup step, or a minor software hiccup are usually behind the problem.
This article walks you through every practical fix, step by step. You will learn how to force restart your glasses, position them correctly in the charging case, and reset the case itself when nothing else works.
In a Nutshell
- Always check for a protective plastic tab on the metal charging contacts before anything else. This tab blocks charging on first use and is easy to miss.
- Force restarting your glasses is often the fastest fix for a charging glitch. Do this before trying anything else.
- Case positioning matters more than most people think. Placing your glasses at the wrong angle inside the case is one of the most frequent causes of charging failure.
- If repositioning does not work, factory resetting the case can clear the issue. Hold the back button for 16 or more seconds with the glasses removed.
- A red light that appears only during a reboot may point to a hardware problem rather than a simple fix.
- Most charging glitches are software or positioning issues, not permanent damage. Following the right steps in order saves time and avoids unnecessary frustration.
Why Smart Glasses Develop Charging Glitches
Smart glasses develop charging glitches for several straightforward reasons. Understanding these causes helps you fix problems faster and prevent them from happening again.
Dirty or blocked charging contacts are the most common culprit. Dust, lint, and debris accumulate on the metal charging pins over time. When contacts get blocked, power cannot flow properly from the case to your glasses. Even a thin layer of dirt prevents a solid connection.
Software issues also trigger charging failures regularly. Your glasses may not recognize the charging signal even when the connection is physically sound. A software glitch can make the device think it is already fully charged or refuse to accept power entirely.
Incorrect case positioning causes more charging problems than people realize. Your glasses must sit at a specific angle inside the case for the contacts to align properly. Placing them at the wrong angle breaks the connection, and the case cannot deliver power.
Loose or worn charging contacts develop over time with repeated use. The metal connectors on both your glasses and case experience wear. Eventually, they may not touch firmly enough to complete the charging circuit.
Protective plastic tabs left on new glasses prevent charging from day one. Manufacturers add these tabs to protect contacts during shipping. Many users forget to remove them before first use, then wonder why charging fails immediately.
Battery degradation happens naturally over months and years. Your battery loses capacity gradually. Sometimes what seems like a charging glitch is actually an aging battery that cannot hold a charge anymore.
Case firmware problems can prevent proper power delivery. The case itself runs software that manages charging. When this software malfunctions, the case stops communicating with your glasses correctly.
Before You Begin: Essential Pre-Troubleshooting Checks
Before you start any troubleshooting, gather a few basic items. You’ll need a soft, dry cloth to clean the charging contacts. Have your glasses case nearby. Make sure you’re in a well lit area so you can see small details clearly.
Check for the protective plastic tab first. New smart glasses often come with a thin plastic tab covering the metal charging connections. This tab prevents accidental contact during shipping. Many people forget to remove it. Look at both the glasses and the case charging points. Peel away any plastic you find. This single step fixes charging issues more often than you’d expect.
Inspect the charging contacts closely. Use your soft cloth to gently wipe both the metal contacts on your glasses and inside the charging case. Dust, lint, or fingerprints block the connection. Wipe in one direction only. Don’t scrub back and forth. Let the contacts dry completely before proceeding.
Check your power switch status. Make sure your glasses are powered off before troubleshooting. Some charging glitches happen because the glasses remain active. Turn them off completely using the power button.
Examine the case itself. Look inside the charging case for any visible damage, cracks, or loose parts. Check that the case feels solid and isn’t damaged. If you see obvious physical damage, this might explain your charging problems.
Gather your charging cable. Inspect the cable for damage, fraying, or bent connectors. A damaged cable prevents proper power delivery. Make sure your power outlet works by plugging in another device.
These pre checks take just five minutes. They eliminate the most obvious causes before you move to deeper troubleshooting steps.
How To Remove the Protective Plastic Tab From Charging Contacts
The protective plastic tab sits on the metal charging contacts of your smart glasses. Manufacturers add this tab to prevent accidental discharge during shipping and storage. You must remove it before your glasses will charge properly.
Locate the tab first. Open your glasses case and look at the bottom of the eyepieces. You will see two small metal contact points. A thin, transparent plastic film covers these contacts. This tab is easy to miss because it blends in with the metal surface.
Gently peel the tab away. Use your fingernail or a soft plastic tool to lift one corner of the plastic. Pull slowly and steadily. Do not use sharp metal objects, as they can damage the contacts underneath. The tab should come off in one smooth motion without resistance.
Check both contact points. Make sure the plastic completely separates from both metal contacts. Sometimes a small piece remains stuck. Run your finger across the contacts to confirm they are bare metal. You should feel a slight texture difference between the exposed metal and the surrounding plastic case.
Dispose of the tab properly. Keep the removed plastic in case you need to store your glasses for extended periods. Some users save it for future storage protection.
Test immediately after removal. Place your glasses in the case and connect the charging cable. A light indicator should appear within seconds. If nothing happens, the tab removal was successful, but another issue may exist. Proceed with force restart or repositioning steps if charging still fails.
Removing this tab is the first and most critical step in fixing charging problems. Most users overlook it completely, which is why charging fails right out of the box.
How To Force Restart Your Smart Glasses
A force restart clears temporary software glitches that prevent your smart glasses from charging properly. This simple step often resolves charging issues without requiring any hardware repairs or factory resets.
Start by powering off your glasses completely. Locate the power button on the frame and hold it until the device shuts down. Wait about 10 seconds after the glasses turn off to ensure they fully power down.
Next, locate the force restart button. On most smart glasses models, this is a small recessed button on the frame or behind the ear piece. You may need a thin object like a paperclip to press it. Hold this button for 10 to 15 seconds until you see lights flash or hear a sound indicating the restart has begun.
Release the button and wait for the restart sequence to complete. Your glasses will show startup animations or lights during this process. This typically takes 20 to 30 seconds. Do not interrupt this sequence or place the glasses in the case during the restart.
Once the restart finishes, turn your glasses back on using the power button. You should see normal startup indicators like LED lights or vibration patterns.
Now test the charging connection. Place your glasses in the case at the correct angle and connect your charging cable. The case should recognize the glasses and begin charging immediately.
If charging still does not work after the force restart, the issue may be hardware related. In this case, try repositioning your glasses in the case or cleaning the metal charging contacts. A force restart is your first troubleshooting step because it addresses software problems quickly and effectively.
How To Correctly Position Your Glasses in the Charging Case
Positioning your glasses correctly in the charging case is critical for a successful charge. Many charging failures happen simply because the glasses sit at the wrong angle.
Start by opening your charging case and examining the metal contact points. These small metal pads must touch the corresponding contacts on your glasses. If the angle is off, the connection breaks and charging stops immediately.
Place your glasses gently into the case. The frame should rest in the designated slots. Push down slowly until you feel slight resistance. The glasses should sit snugly without forcing. Listen for a soft click, which signals proper seating in some models.
Check the alignment carefully. The metal contacts on your glasses must face the metal contacts in the case directly. Even a slight tilt can interrupt the connection. Look from above and from the side to confirm straight positioning.
Wait approximately 10 minutes after repositioning. Sometimes the charging connection needs a moment to establish properly. A charging light should appear during this time. If nothing happens, reposition the glasses again.
Test different angles slightly if the standard position does not work. Some cases require the frame to sit at a specific angle. Adjust gradually and wait a few minutes between each attempt.
Make sure nothing blocks the contact points. Dust or debris prevents metal from touching metal. Clean both the case contacts and the glasses contacts with a soft, dry cloth before repositioning.
If your glasses still refuse to charge after correct positioning, move forward with a force restart. This step often resolves software issues that positioning alone cannot fix. Proper placement is always your first troubleshooting step though.
How To Factory Reset Your Smart Glasses Charging Case
A factory reset of your charging case is a powerful last resort when other troubleshooting steps fail. This process clears all stored data and settings within the case itself, which can resolve stubborn charging problems.
Start by removing your smart glasses from the case completely. Make sure the glasses are not inside. This step prevents accidental resets of your device settings and keeps your glasses safe during the process.
Locate the back button on your charging case. This small button typically sits on the rear surface of the case. Press and hold this button firmly with your finger.
Keep the button pressed for at least 16 seconds. You need to hold it longer than a standard button press. The case will begin showing signs of reset, usually through LED lights that blink or change color. Some cases display a specific light pattern to confirm the reset is happening.
Do not release the button until you see the reset confirmation. Releasing too early means the factory reset did not complete properly.
Once you release the button, wait a few moments for the case to fully restart. The LED lights should stabilize or return to their normal state. This indicates the reset finished successfully.
Now place your smart glasses back into the case using the correct positioning method. Connect your charging cable to test if the issue is resolved.
A factory reset erases any corrupted data stored in the case’s memory. This often fixes charging glitches that other methods cannot solve. If your glasses still refuse to charge after this step, the problem is likely a hardware issue requiring professional service or replacement of the case itself.
Common Mistakes That Cause Charging Failures
Most charging failures happen because you skip simple steps or make small positioning mistakes. Understanding these errors helps you fix problems quickly.
The plastic tab mistake is the most common problem. When you first unbox your smart glasses, a protective plastic tab covers the metal charging connections. Many people forget to remove this tab completely. The glasses sit in the case, but no electrical contact happens. Check both the glasses and the case for any plastic coverings before troubleshooting anything else.
Incorrect case positioning causes more failures than you might think. Your glasses need to sit at a specific angle inside the case. The metal contacts on your glasses must align perfectly with the metal points in the case. Even a slight tilt prevents charging. People rush this step and assume the case is doing its job automatically. It is not. Take time to position your glasses carefully and wait about 10 minutes to see if charging begins.
Skipping the force restart is another major mistake. You might try repositioning or checking connections first, but the real solution could be a software glitch. A force restart clears temporary problems that block charging signals. Many people skip this step and jump straight to other fixes.
Power switch issues also matter. Your glasses should be powered off before you place them in the case. Leaving them on can confuse the charging system. Always turn off your glasses completely.
Not waiting long enough is the final common error. After repositioning your glasses, wait at least 10 minutes. Charging does not start instantly. Give the system time to recognize the connection and begin the charging cycle.
How To Interpret Charging Indicator Lights and Warning Signs
Your smart glasses use indicator lights to communicate what’s happening during charging. Understanding these signals helps you fix problems fast.
A green light means your glasses are charging normally. This is the healthy state you want to see. The light stays on while power flows into the battery.
A red light typically indicates a charging problem. This could mean the connection is loose or dirty. It might also signal that your glasses need a restart.
A blinking red light suggests the case itself has an issue. The case battery might be low or the internal circuit needs attention. Try repositioning your glasses in the case first.
No light at all is concerning. This often means the metal contacts aren’t touching properly. Check that your glasses sit at the correct angle in the case. Make sure nothing blocks the contact points.
Some glasses show a white or blue light during startup. This is normal during the boot process. Wait for it to change to green once charging begins.
Pay attention to how quickly the light appears. If the light takes several seconds to show up, your connection might be weak. Reposition your glasses slightly and watch for an immediate response.
Temperature warnings sometimes display as a different colored light. Your glasses might be too hot or too cold. Let them reach room temperature before trying again.
If you see an unusual light pattern or the light keeps switching colors, force restart your glasses. This often clears temporary glitches. Hold the power button for about 10 seconds until the glasses turn off completely, then turn them back on.
Final Thoughts
Smart glasses charging glitches are frustrating, but most problems are completely fixable with the right approach.
The key takeaway is that charging failures rarely mean your glasses are broken. They usually point to a simple positioning error, a missed step, or a software hiccup that a force restart can solve.
Always start with the basics. Check that you removed the protective plastic tab on your first use. Make sure the power switch is off before placing the glasses in the case.
Positioning matters more than most people expect. A slight angle difference can prevent the metal contacts from connecting properly. Take your time placing the glasses into the case correctly.
If basic steps do not work, force restart your glasses before trying anything else. This single step resolves a surprising number of charging issues without any extra effort.
Use your indicator lights as a guide. They tell you exactly what is happening so you can respond with the right fix instead of guessing.
A factory reset of the case is your final option, not your first. Save it for situations where every other step has already failed.
Patience is also part of the process. After repositioning or resetting, wait at least 10 minutes before checking the result. Rushing leads to repeat troubleshooting.
The most common mistakes are skipping steps, incorrect placement, and ignoring indicator light signals. Avoid those three things and you will solve most issues quickly.
Smart glasses technology is still growing, and minor charging glitches are a known part of the experience. With these steps, you now have everything you need to handle them confidently.
Frequently Asked Questions
Why won’t my smart glasses charge even though the case has power?
The most common reason is incorrect positioning inside the case. Your glasses need to sit at a specific angle so the metal contacts align properly. Even a small tilt can break the connection. Try removing your glasses and placing them back in the case more carefully. Wait about 10 minutes after repositioning to see if charging starts.
Another frequent cause is the protective plastic tab. If this is your first time using the glasses, a thin plastic layer covers the metal charging connections. You must remove this tab before charging will work. Check both the glasses and the case for any plastic covering.
What does a red light mean during charging?
A red light indicates a charging problem. This could mean the contacts aren’t connecting properly or the case battery is low. Start by force restarting your glasses. Hold down the power button until the glasses turn off completely, then turn them back on.
If the red light continues after a restart, try repositioning your glasses in the case. Make sure they click into place securely. If you see a blinking red light, the issue might be with the case itself rather than your glasses.
Should I factory reset my case if charging fails?
Only try a factory reset as your last option. First, complete the basic steps: remove your glasses from the case, force restart the glasses, and reposition them carefully.
To factory reset the case, remove your glasses and hold the back button for 16 or more seconds. Wait for the lights to respond. This completely restarts the case and often fixes stubborn charging problems.
How long should I wait after putting glasses in the case?
Wait approximately 10 minutes after repositioning your glasses. Charging doesn’t always start instantly. The contacts need time to establish a solid connection and begin the charging process.
If nothing happens after 10 minutes, try the troubleshooting steps again rather than waiting longer.

Hi, I’m Simmy — the founder and voice behind AI Gadgets Insight. I’m a tech enthusiast who loves exploring the latest AI gadgets, smart devices, and innovative tech products. I started this blog to help people make smarter tech choices with honest reviews, easy-to-follow comparisons, and practical buying guides.