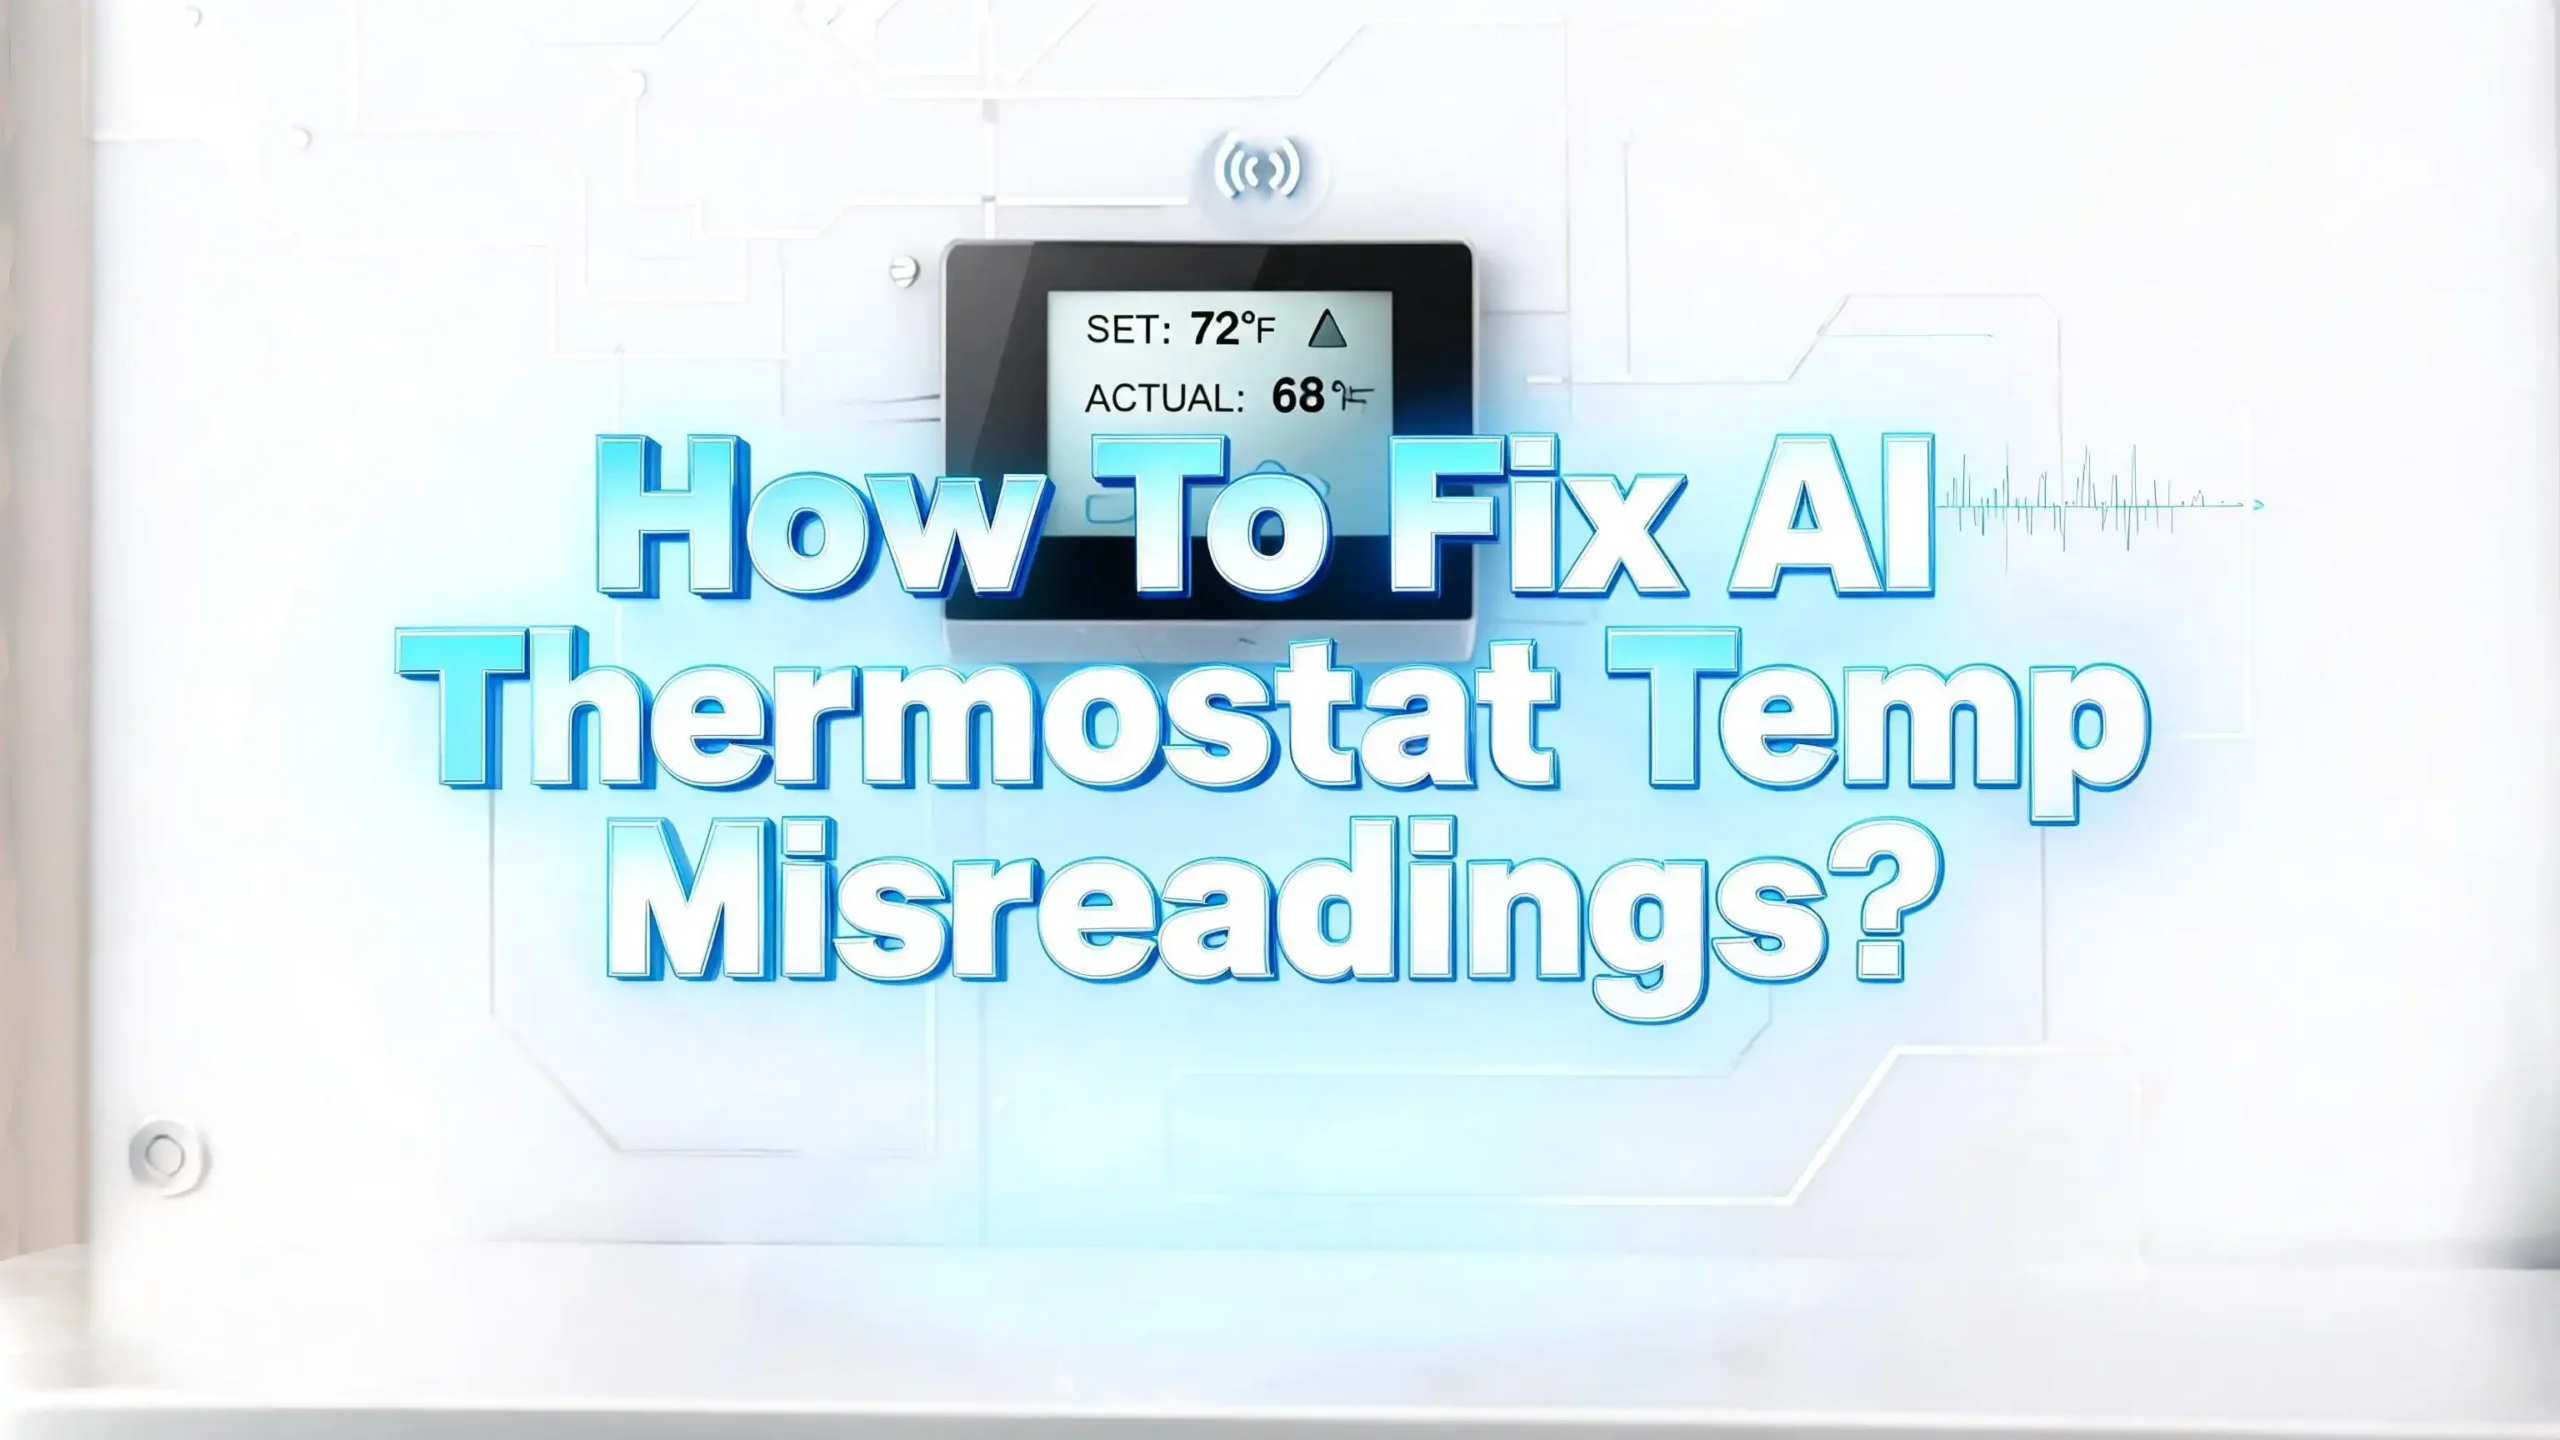
How To Fix AI Thermostat Temp Misreadings?
Your AI thermostat promises smart climate control, learning routines, and energy savings. But what happens when it shows 68°F while your room actually feels like 75°F? Wrong temperature readings turn a smart device into a frustrating problem.
The good news is that most AI thermostat misreadings have simple fixes. You don’t always need a technician. You don’t always need a new device. Many issues come from placement, dust, calibration drift, or software glitches.
This guide walks you through every common cause and gives you clear steps to fix each one. By the end, your thermostat will read accurately and your home will feel just right again.
Key Takeaways
- Placement matters most. Thermostats near windows, vents, sunlight, or kitchens often show wrong readings. Move the unit or use a remote sensor in a better spot.
- Dust is a silent enemy. A thin layer of dust on the internal sensor can shift readings by several degrees. Clean your thermostat gently every few months.
- Calibration drift happens naturally. Most AI thermostats let you set a temperature offset in the app or settings menu. Use a trusted thermometer as a reference.
- Software bugs are common. A quick restart, firmware update, or factory reset often clears glitches that cause stuck or wrong readings.
- Weak batteries and bad wiring cause sensor errors. Replace batteries yearly and check the C wire connection if your thermostat acts strange.
- Room sensors and zoning help large homes. If one thermostat controls many rooms, add remote sensors so the AI averages real conditions.
Understand Why AI Thermostats Misread Temperatures
AI thermostats use small electronic sensors called thermistors. These sensors measure the temperature of the air right next to the device. The AI then learns your habits and adjusts heating or cooling. If the sensor reads wrong, the AI makes wrong decisions.
Several factors can cause misreadings. Heat sources nearby, like lamps or sunlight, can fool the sensor. Cold drafts from windows or doors can do the same. Dust can insulate the sensor and slow its response. Old firmware can also misinterpret readings.
Sometimes the AI itself causes the confusion. The device may show the target temperature or a predicted temperature instead of the current one. Many users mistake these screens for real readings. Always check which value your thermostat displays before assuming a fault.
Wiring issues add another layer. A loose wire can give intermittent power to the sensor. This causes readings to jump or freeze. Battery powered models lose accuracy as the cells weaken. Even Wi-Fi problems can stop sensor data from syncing with the app, showing old numbers on your phone.
Knowing the cause helps you pick the right fix. Start with the simplest steps first. Check placement, then clean, then calibrate, then update software. Most users solve their issue within these four steps without calling for help.
Check Your Thermostat’s Location First
Location is the number one reason AI thermostats misread temperature. The device measures only the air it touches. If that air does not match the rest of the room, the reading will be wrong.
Avoid these bad spots for your thermostat:
- Direct sunlight from a window
- Above or below an air vent
- Near a kitchen stove or oven
- Beside a fireplace or heater
- On an exterior wall that gets cold
- Behind a door or in a hallway corner
- Close to a lamp or large electronic
The best place is an interior wall in a central room. The wall should be about five feet off the floor. Air should flow freely past the device. No furniture or curtains should block it.
If your thermostat sits in a bad spot, you have two choices. You can move the unit to a better wall. This needs some basic wiring work and patching of old holes. Or you can add a remote sensor in the right room. Brands like Ecobee, Nest, and Honeywell sell these sensors. The AI then uses the remote reading instead of the wall unit.
After you move or add sensors, give the device 30 minutes to settle. New air conditions take time to register. Then compare its reading to a thermometer you trust.
Clean Dust and Debris From the Sensor
Dust buildup is the silent cause of many misreadings. A thin film on the sensor traps heat and slows response. Over months, this layer grows thick enough to shift readings by two or three degrees.
Cleaning is simple and safe. First, turn off power to the thermostat at the breaker. This prevents shorts and protects the device. Then remove the front cover. Most AI thermostats pull straight off the wall plate.
Use a soft, dry brush or a can of compressed air. Gently sweep dust from the circuit board, sensor area, and vent slots. Hold the can upright and use short bursts. Do not use water, sprays, or cleaning chemicals. Liquids can ruin the electronics.
Pay special attention to the small vent holes around the edge. These holes let room air reach the sensor. Blocked holes cause slow or wrong readings. A soft toothbrush works well here.
Wipe the screen with a dry microfiber cloth. Snap the cover back on and restore power. Let the device run for an hour. Then check the temperature against a reference thermometer.
Clean your thermostat every three to six months. Homes with pets, smokers, or high foot traffic need more frequent care. Regular cleaning keeps the sensor accurate and extends the life of the device. It also helps the AI learn your home faster and more reliably.
Replace Weak Batteries
Many AI thermostats use batteries as a backup or main power source. Weak batteries cause strange behavior. The screen may dim. The sensor may freeze. Readings may jump up and down without reason.
Check your model’s battery type. Most use two AA or AAA alkaline cells. Some hardwired models use a small coin battery for memory backup. Your manual lists the exact type and location.
Replace the batteries when you see a low battery icon or once every twelve months. Do not wait for full failure. Use fresh, name brand alkaline cells. Avoid mixing old and new batteries. Avoid rechargeable cells unless the manual approves them. Rechargeables put out lower voltage and can confuse the device.
After you install new batteries, the thermostat may need to reconnect to Wi-Fi. The clock and schedule should stay saved in most models. If they reset, just enter them again in the app.
If your unit is hardwired with a C wire, batteries last much longer. They only act as backup during power cuts. Still, change them once a year for safety. A dead backup battery can cause data loss during outages.
Battery problems often look like sensor faults. Always rule out power issues before you blame the AI or the sensor. This single step solves many cases that look much more complex at first glance.
Calibrate the Temperature Offset
Even a healthy AI thermostat can drift over time. Sensors age. Wall heat or cold can bias the reading. The fix is a feature called temperature offset or temperature calibration.
This setting lets you tell the thermostat to add or subtract a fixed number of degrees. For example, if your unit reads 70°F but a trusted thermometer reads 72°F, you set the offset to +2°F. The device then shows 72°F to match reality.
Here is how to calibrate step by step:
- Place a digital thermometer next to the thermostat. Use one you know is accurate.
- Wait 30 minutes so both devices read the same air.
- Compare the two values. Note the difference.
- Open your thermostat app or the device settings menu.
- Find the offset option. It may be under “Installer Settings,” “Calibration,” or “Temperature Correction.”
- Enter the difference as a positive or negative number.
- Save and exit.
Ecobee, Nest, Honeywell, Sensi, and most other brands offer this feature. Some hide it under installer or advanced menus. Check the official support page if you cannot find it.
Do not set huge offsets like 5 or more degrees. A large gap means the sensor or location has a deeper problem. Fix that first, then fine tune with a small offset. Recheck calibration every six months because drift continues slowly.
Update Firmware and Restart the Device
Software bugs cause many AI thermostat misreadings. The maker pushes fixes through firmware updates. If your device runs old code, it may show wrong temps even when the hardware is fine.
Check for updates in your thermostat app. Look under settings, “About,” or “System.” Most apps show the current version and an update button. Some devices update on their own when connected to Wi-Fi. Always keep Wi-Fi turned on for this reason.
After an update, restart the thermostat. A restart clears memory and reloads the sensor data. On most models, you can:
- Remove the cover, wait ten seconds, and put it back
- Pull the batteries for one minute
- Use the “Restart” button in the app
- Flip the breaker off and on if hardwired
Give the device five minutes to boot up and reconnect. Then check the reading.
If updates and restarts do not help, try a full factory reset. This wipes all settings and learned data. You will need to set up schedules again. But it often clears deep software faults that simple restarts miss.
Always back up your schedule before a reset. Take photos of your settings screens with your phone. This makes setup much faster after the reset. Firmware care is part of owning any smart device. Treat it like updating your phone or laptop for best results.
Inspect the Wiring and C Wire
Bad wiring causes some of the worst thermostat problems. Loose, broken, or missing wires send weak signals to the sensor. The device may read random temps or freeze on one number.
Turn off power at the breaker before you touch any wires. Smart thermostats run on low voltage, but safety first. Then remove the thermostat from its wall plate.
Look at each wire. Each one should be:
- Firmly seated in its terminal
- Stripped clean with no frayed copper
- Color matched to the correct label like R, W, Y, G, C
The C wire, or common wire, is key for AI thermostats. It gives steady power to the device. Without it, the unit may run only on batteries or steal power from other wires. This causes voltage drops and sensor errors.
If you have no C wire, you have options. You can install a 24 volt adapter at the HVAC unit. You can use a power extender kit from brands like Ecobee or Venstar. Or you can call an HVAC technician to add a true C wire.
Tighten any loose screws. Push wires fully into their slots. Trim and re strip any damaged ends. Snap the thermostat back on and turn power back on. Watch the temp reading for an hour. Stable wiring usually shows steady, accurate values right away.
Add Remote Sensors for Better Accuracy
One thermostat in one spot cannot read your whole home. Rooms have different temps based on sun, drafts, and floor level. AI thermostats fix this with remote room sensors.
Remote sensors are small wireless units. You place them in bedrooms, living rooms, or offices. They send temperature data back to the main thermostat. The AI then averages the readings or focuses on the rooms you choose.
Sensor placement tips:
- Put them at sitting or sleeping height
- Keep them away from vents and windows
- Place one in each main room you use
- Avoid hot spots like above electronics
In the app, you can set follow me or occupancy modes. The AI then heats or cools based on the room you are in. This solves the classic problem of a hot upstairs and cold downstairs.
Ecobee was the first brand to push sensors hard. Nest, Honeywell, and Wyze now offer them too. Most sensors run on small coin batteries that last a year or more.
If your main thermostat sits in a poor spot, sensors are a game changer. You no longer need to move the wall unit. You let the sensors do the real measuring. Your AI gets a fuller picture of your home and makes smarter choices about comfort and savings every day.
Check Wi-Fi and App Sync Issues
Sometimes the thermostat reads correctly but the app shows wrong numbers. This is a sync problem, not a sensor problem. The cause is usually Wi-Fi or cloud servers.
Quick checks for sync issues:
- Open the thermostat directly and compare its screen to the app
- Restart your home router
- Force close and reopen the thermostat app
- Sign out and sign back in
- Check the brand’s status page for outages
If the device screen is right but the app is wrong, your sensor is fine. The fix is on the network side. Move your router closer if the signal is weak. Add a Wi-Fi extender for far away thermostats.
Slow or dropped connections cause stale data. The app may show readings from hours ago. You may even see the wrong temperature unit, like Celsius instead of Fahrenheit. Adjust unit settings in the app under preferences.
Some brands use cloud servers to process AI features. When their servers go down, the app shows errors or old data. Check social media or the support site for outage reports.
A strong, steady Wi-Fi link keeps your AI thermostat sharp. It also lets firmware updates install on time. Treat your home network as part of your HVAC system. Good Wi-Fi equals good smart climate control in every room of the house.
Replace a Faulty Sensor or Thermostat
Sometimes hardware just fails. After you try every fix above, a stuck or wrong reading may mean the sensor is dead. AI thermostats last about ten years on average. Heat, dust, and power surges shorten that life.
Signs of true hardware failure:
- The reading never changes, even with big temp swings
- The screen flickers or shows error codes
- The device reboots on its own
- Offsets larger than 5°F do not fix the gap
- The thermostat works but the AI features no longer learn
Contact the maker first. Many AI thermostats carry one to five year warranties. If yours is under warranty, you may get a free replacement. Have your serial number, purchase date, and receipt ready.
If the unit is out of warranty, you can still replace just the sensor on some models. Pro grade thermostats often allow this. Consumer models usually need a full replacement.
When you shop for a new thermostat, look for these features:
- Multiple room sensors
- C wire support or an included adapter
- Easy app calibration
- Strong update history from the brand
Install the new device on a good interior wall. Use what you learned about placement, wiring, and calibration. A fresh setup with smart habits gives you years of accurate, comfortable, and cost saving climate control.
Manage Heat and Cold Sources Around the Unit
Even a perfect thermostat fails near strong heat or cold. The room itself can fool the sensor. Look around the device for hidden problems that bias its reading every day.
Common heat sources to remove or shield:
- Table lamps with hot bulbs near the wall
- Direct afternoon sun through nearby windows
- Televisions or game consoles on the same wall
- Phone chargers plugged in below the unit
- Tall furniture that traps warm air
Common cold sources to block:
- Drafts from old window seals
- Air leaks around exterior doors
- Cold air from a nearby basement stairwell
- Vents that blow conditioned air right at the thermostat
You do not always need to move the thermostat. Small changes around it work just as well. Close blinds during peak sun. Move the lamp two feet to the side. Add weather stripping to leaky windows. Redirect the vent louvers away from the wall unit.
If a vent sits right above the thermostat, the AI gets a false sense of room comfort. It reads the conditioned air, not the room air. Use a vent deflector to send air toward the room center.
These small fixes cost little but help a lot. They also lower your energy bills by sealing leaks. A well managed room helps every AI feature work better, from learning schedules to predicting your comfort needs.
Reset and Retrain the AI Learning
AI thermostats learn from your habits. They study when you wake, leave, return, and sleep. They also learn how fast your home heats or cools. If readings have been wrong for weeks, the AI may have learned false patterns.
A reset of the learning data fixes this. Most apps offer a reset schedule or clear learning history option. This is different from a full factory reset. Your Wi-Fi and account stay linked.
Steps to retrain your AI:
- Fix all the sensor and placement issues first
- Calibrate the temperature offset
- Open the app and find “Reset Learning” or similar
- Confirm the reset
- Set a basic schedule with your real wake and sleep times
- Let the AI watch your habits for one to two weeks
During retraining, avoid manual overrides as much as you can. Each override teaches the AI a new rule. Too many overrides confuse the model. Let it settle into a steady pattern.
Some thermostats also offer eco modes or home and away features. Turn these on after retraining. They use motion sensors or phone location to save energy.
After two weeks, check your comfort and energy use. The AI should now match your real life with accurate temps and smart schedules. Retraining once a year, or after big life changes like a new baby or work shift, keeps your system tuned to your current routine.
FAQs
Why does my AI thermostat read higher than my room thermometer?
The most likely causes are dust on the sensor, a heat source nearby, or calibration drift. Clean the unit, move heat sources away, and set a temperature offset in the app. If the gap stays above 3°F, check wiring and consider a remote sensor for a better spot.
How often should I calibrate my smart thermostat?
Calibrate every six months or after any big change like new HVAC work, a move, or a firmware update. Use a trusted digital thermometer placed next to the thermostat. Small drifts of one or two degrees are normal and easy to fix in the app.
Can a weak Wi-Fi signal cause wrong temperature readings?
Wi-Fi does not affect the sensor itself. But it can cause the app to show old data. If the thermostat screen reads right and the app reads wrong, fix the network. Move the router closer or add an extender for steady sync.
Is it safe to reset my AI thermostat to factory settings?
Yes, a factory reset is safe and often helpful. It clears software bugs and old learning data. Back up your schedule first by taking screen photos. You will need to enter Wi-Fi, account, and HVAC settings again after the reset.
When should I replace my AI thermostat instead of fixing it?
Replace it if the device is over ten years old, shows error codes, reboots on its own, or fails to fix wrong readings after every step above. Also replace it if the brand no longer pushes firmware updates. A new model with room sensors gives better accuracy and savings.

Hi, I’m Simmy — the founder and voice behind AI Gadgets Insight. I’m a tech enthusiast who loves exploring the latest AI gadgets, smart devices, and innovative tech products. I started this blog to help people make smarter tech choices with honest reviews, easy-to-follow comparisons, and practical buying guides.