How to Calibrate Smart Lighting for Professional Video Conferencing?
You just joined an important video call. Your camera turns on. Your face looks dark, washed out, or oddly tinted. Your colleagues squint at a shadowy figure on screen. Sound familiar?
Bad lighting ruins video calls faster than a weak internet connection. Most people blame their webcam, but the real problem is almost always the lighting.
Smart lighting gives you full control over brightness, color temperature, and positioning from your phone or voice assistant. Yet most people never calibrate their smart lights for video calls.
This guide walks you through the exact steps to calibrate your smart lighting for crisp, flattering, and professional video conferencing.
Key Takeaways
- Color temperature between 4000K and 5500K produces the most natural skin tones on camera. Avoid going too warm (orange) or too cool (blue) for professional calls.
- Brightness matters more than you think. Aim for 400 to 500 lux on your face. Too little light creates grain and noise in your webcam feed. Too much light washes you out.
- Position your key light in front of you or at a 45 degree angle. Never sit with a bright window or lamp behind you, as this creates a silhouette effect that webcams struggle to correct.
- Use smart lighting presets and scenes to save your ideal settings. Create a dedicated “Video Call” scene in your smart home app so you can activate perfect lighting with a single tap or voice command.
- Match all light sources to the same color temperature. Mixing warm lamps with cool overhead lights confuses your webcam’s auto white balance and creates uneven color across your face.
- High CRI bulbs (90 or above) render skin tones accurately. The Color Rendering Index measures how faithfully a light source displays colors compared to natural sunlight. Low CRI bulbs make skin look gray or greenish on camera.
Why Smart Lighting Matters for Video Conferencing
Your webcam relies on available light to produce a clear image. Unlike the human eye, a webcam has a limited dynamic range. It cannot handle extreme contrasts between bright and dark areas in the same frame.
Smart lighting solves this problem because it gives you precise control over two critical variables: brightness and color temperature. Standard lamps and overhead fixtures offer a single setting. Smart bulbs let you dial in exact values from your phone.
Professional studios spend thousands on lighting rigs for a reason. Light quality directly affects how people perceive your competence and credibility on video calls. Research from communication experts shows that well lit participants receive more engagement and trust during virtual meetings.
Smart bulbs from brands like Philips Hue, LIFX, Wyze, and others connect to apps that let you adjust brightness in one percent increments and color temperature across a wide Kelvin range. This level of control was once limited to professional film sets. Now it sits in your desk lamp.
Understanding Color Temperature and Why It Matters
Color temperature describes how warm or cool a light appears. It is measured in Kelvins (K). A candle flame sits around 1800K and looks very orange. A clear blue sky registers around 10000K and appears very blue.
For video conferencing, the sweet spot falls between 4000K and 5500K. This range mimics natural daylight and produces the most accurate skin tones on camera. Your webcam’s auto white balance works best with light in this range.
Going below 3500K makes your face look orange and tired. Going above 6500K gives your skin a cold, bluish cast. Both extremes make you look unprofessional and distract viewers from your message.
Smart bulbs display their Kelvin value directly in the app. Open your bulb’s control panel and adjust the slider until you land in the 4000K to 5500K range. Watch the preview on your webcam as you adjust. You will see an immediate difference in how natural your skin appears.
Choosing the Right Smart Bulbs for Video Calls
Not all smart bulbs perform equally for video conferencing. Two key specifications separate good bulbs from bad ones: CRI (Color Rendering Index) and lumen output.
CRI measures how accurately a bulb renders colors compared to natural sunlight, which has a perfect CRI of 100. For video calls, look for bulbs rated CRI 90 or above. Bulbs with low CRI ratings (below 80) make skin look dull, grayish, or slightly green on camera. This is one of the most common reasons people look bad on video despite having “enough” light.
Lumen output tells you how bright the bulb is. For a key light in a home office, you want bulbs that produce at least 800 lumens. Dimmer bulbs work well as fill or accent lights. Most smart bulbs list their maximum lumen output on the packaging or in the app.
Also check the bulb’s adjustable range. The best smart bulbs for video conferencing let you shift color temperature from about 2700K to 6500K. This wide range gives you flexibility to match different room conditions throughout the day.
Setting Up the Ideal Light Positions
Where you place your lights determines whether you look professional or amateur on camera. The golden rule is simple: your brightest light should come from in front of you, not behind you.
Backlighting is the most common video call mistake. A bright window behind you forces your webcam to expose for the background, leaving your face dark. Move your desk so the window is in front of you or to your side instead.
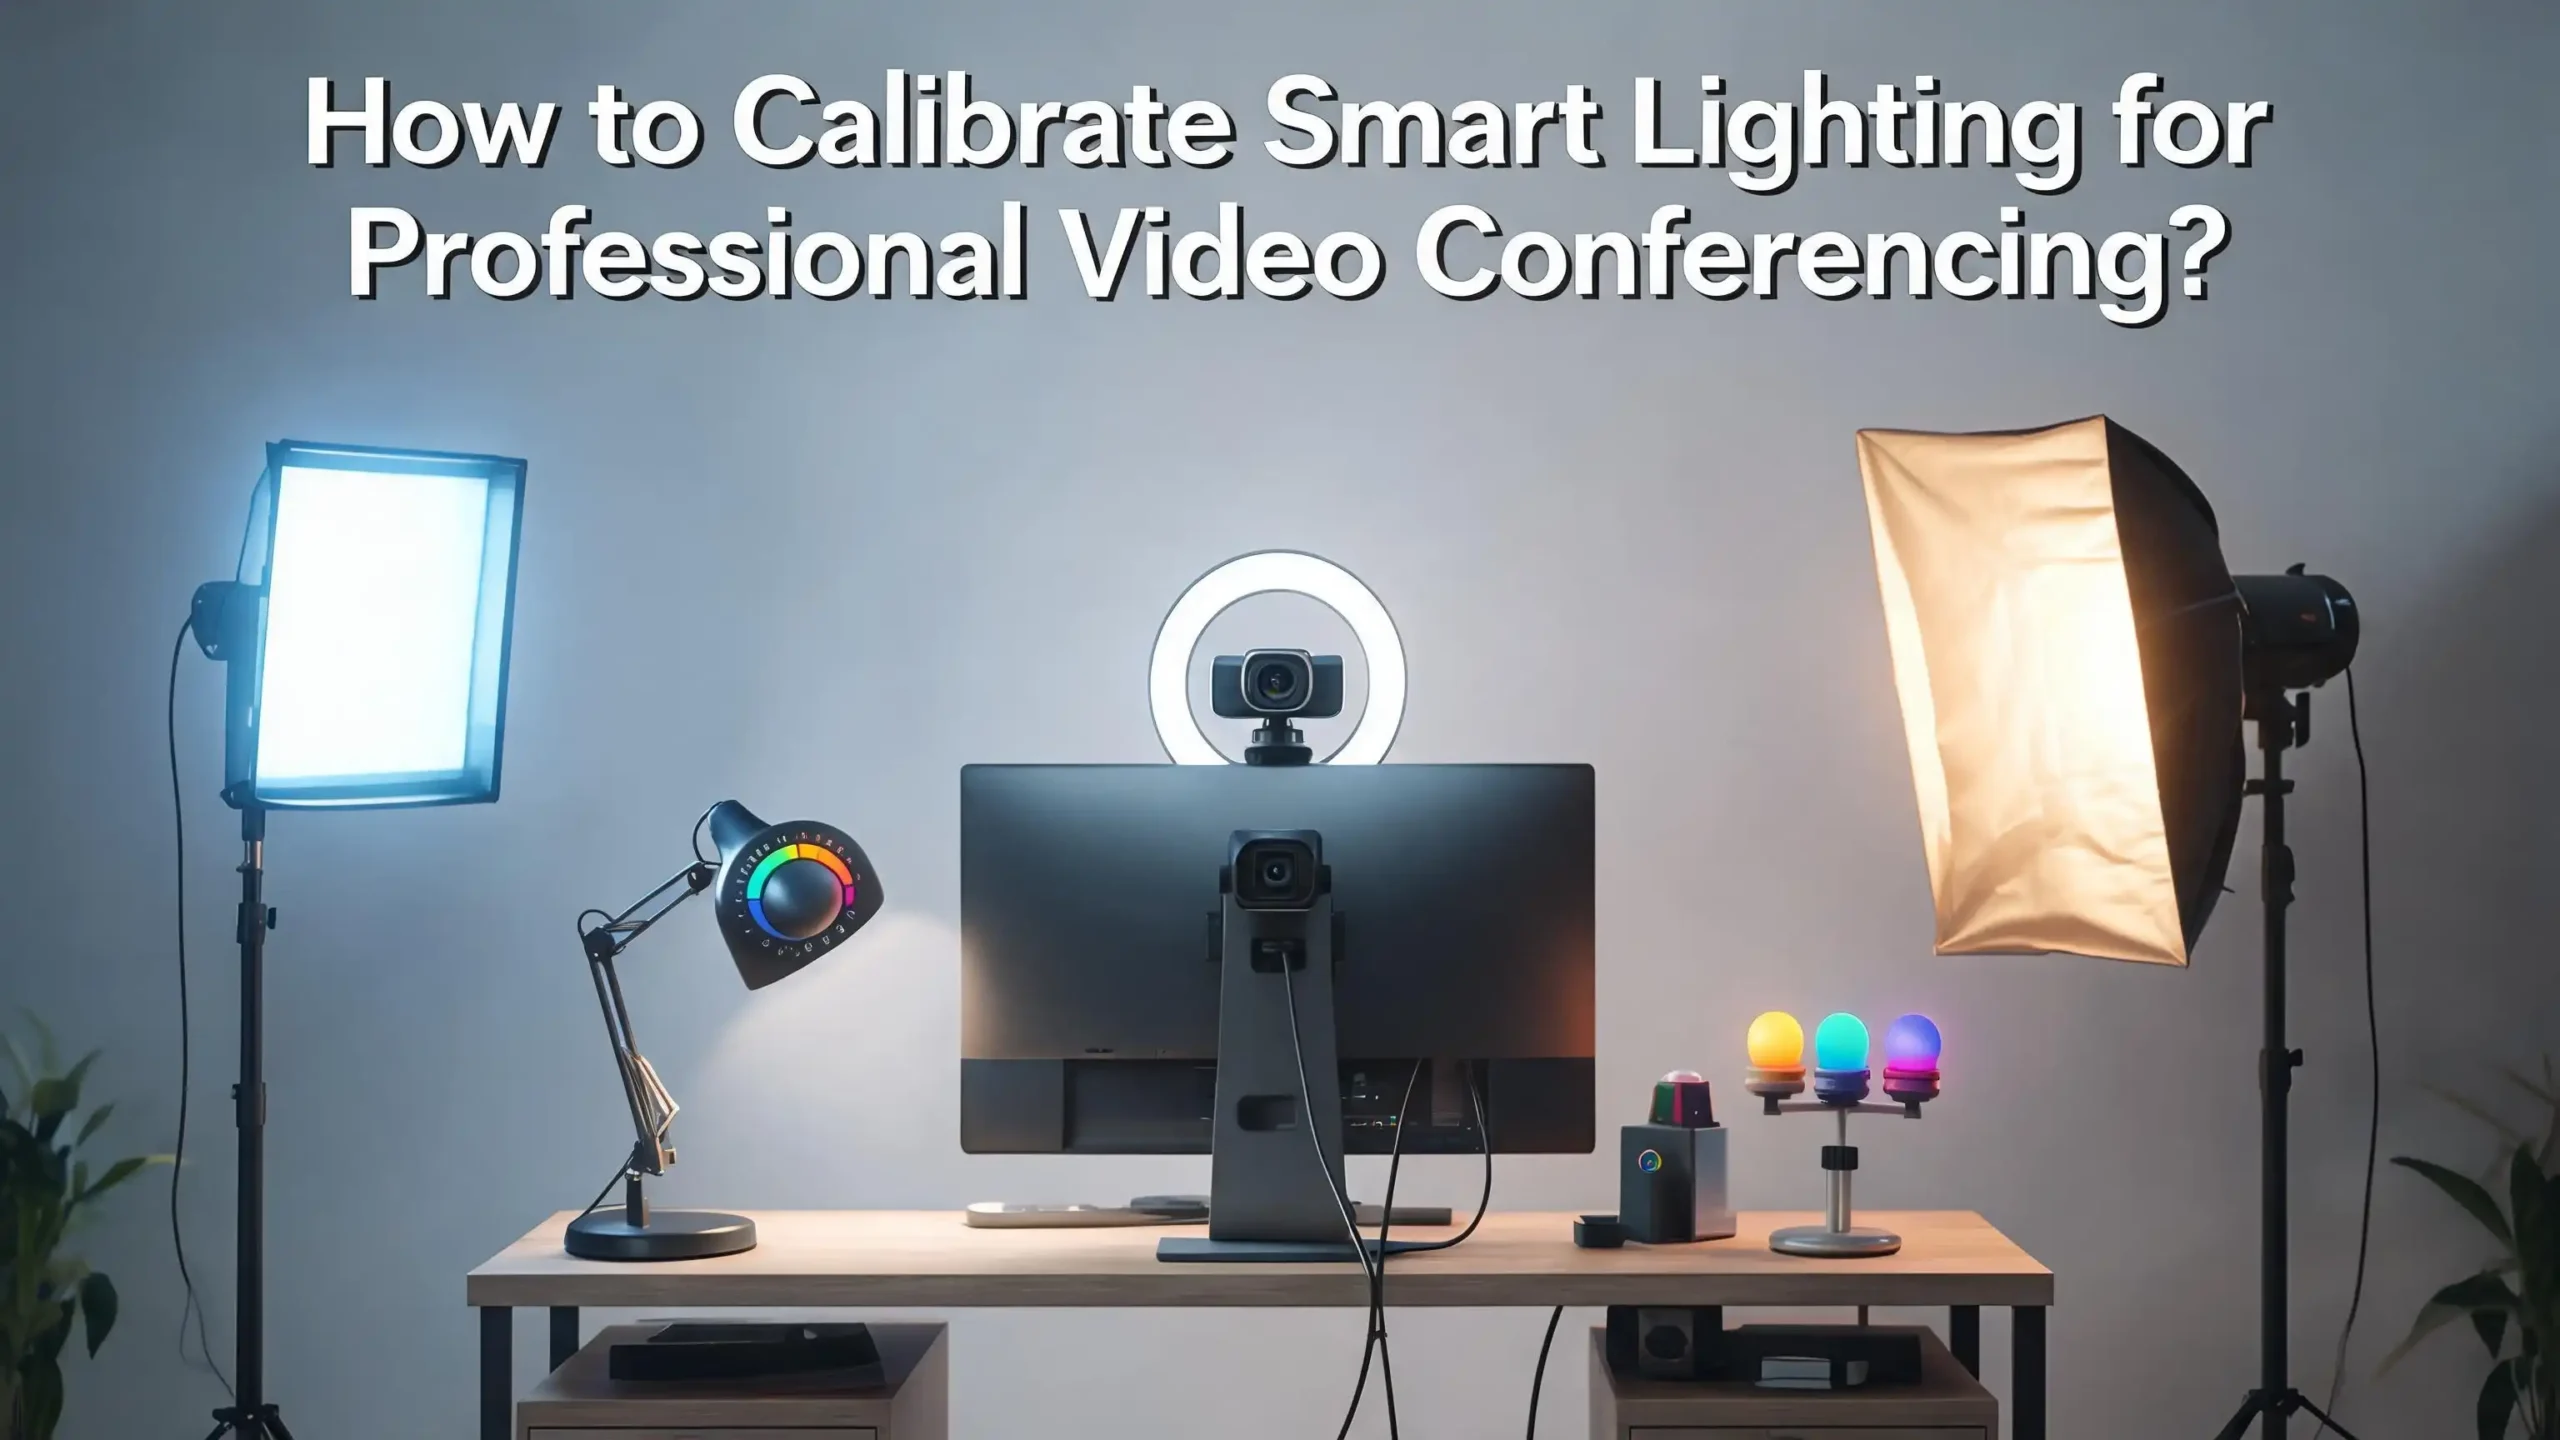
The standard three point lighting setup used by film professionals works perfectly for video calls. Here is how to arrange it. Place your key light at a 30 to 45 degree angle from your face, slightly above eye level. This is your main light and should provide about 75 percent of the total illumination. Position a fill light on the opposite side at a similar angle but set it dimmer than the key light. This fills shadows without flattening your features. Add a back light behind you, aimed at your head and shoulders to separate you from the background.
For most home offices, even a two point setup with a key light and a fill light produces excellent results.
How to Calibrate Brightness Levels
Brightness calibration is the step most people skip. They turn on their smart lights and leave brightness at 100 percent. This often creates an overexposed, washed out look on camera.
Professional video conferencing spaces aim for 400 to 500 lux measured at face level. You do not need a lux meter to get close to this target. Start by setting your key light to about 70 percent brightness in the smart bulb app. Turn on your webcam preview and observe your face on screen.
Your goal is even illumination with no hot spots or deep shadows. If your face looks flat and overexposed, reduce brightness by 10 percent. If shadows dominate one side of your face, increase the fill light slightly.
Smart bulbs make this process easy because you can make tiny adjustments from your phone while watching the webcam preview in real time. Spend five minutes fine tuning your brightness levels. Save the final values as a preset in your smart home app so you never have to repeat this process.
Also remember that your computer screen itself emits light. A very bright screen can blow out highlights on your face. Set your monitor brightness to a comfortable level that does not compete with your key light.
Matching All Light Sources to One Color Temperature
This is one of the most important calibration steps and one of the most overlooked. Mixing lights with different color temperatures confuses your webcam’s auto white balance and creates an unnatural, patchy look.
Imagine you have a warm 2700K desk lamp on one side of your face and cool 6500K overhead light on the other. One half of your face appears orange. The other half appears blue. Your webcam tries to split the difference and neither side looks right.
The fix is straightforward. Set every light source in your video conferencing space to the same color temperature. Open each bulb’s app and dial them all to the same Kelvin value, ideally between 4500K and 5000K.
If you have a window providing natural daylight, match your smart bulbs to daylight color temperature around 5500K to 6000K. As the sun moves and daylight changes, you may need to adjust your smart bulbs slightly. Some smart lighting systems offer adaptive modes that shift color temperature throughout the day to follow natural light patterns.
Reducing Glare and Reflections on Camera
Glare creates distracting bright spots on your glasses, forehead, or background surfaces. It happens when a concentrated light source hits a reflective surface at the wrong angle.
Diffused light eliminates most glare problems. Instead of pointing a bare smart bulb directly at your face, use a lampshade, diffuser panel, or bounce the light off a wall. A lamp with a large white shade naturally softens and spreads the light. This produces a flattering, even glow that minimizes reflections.
If you wear glasses, glare rings from ring lights are a common issue. The circular shape of a ring light reflects clearly in glass lenses. To fix this, move the ring light further away from your face or angle it slightly above you. Alternatively, switch to a rectangular LED panel light, which creates a less noticeable reflection.
Smart bulbs in ceiling fixtures can also cause forehead glare and harsh under eye shadows. If your overhead light creates this problem, dim it to about 30 percent and rely on your front facing key light and fill light instead. The overhead light then acts as gentle ambient fill without creating harsh shadows.
Creating a Dedicated Video Call Scene in Your Smart Home App
One of the biggest advantages of smart lighting is automation. You can save your calibrated settings as a scene or preset and activate them instantly before any video call.
Open your smart home app and create a new scene. Name it something clear like “Video Call” or “Meeting Mode.” Add each smart bulb in your office to the scene. Set the brightness and color temperature for each bulb to the values you calibrated earlier.
Now you can activate perfect lighting with a single tap or a voice command. Say “Hey Google, activate Meeting Mode” or “Alexa, turn on Video Call” and your entire office transforms in seconds.
Some users take this further by integrating their smart lights with calendar apps. You can set an automation that turns on your video call lighting five minutes before any meeting on your schedule. When the meeting ends, the lights return to your normal settings. Smart home platforms like Home Assistant, Apple HomeKit, and Google Home all support this type of calendar based automation.
This removes all friction from the lighting setup process. You never have to fiddle with bulbs or apps before a call again.
Adjusting for Natural Light Changes Throughout the Day
Natural light from windows shifts in color and intensity throughout the day. Morning light tends to be warmer. Midday light is bright and neutral. Late afternoon light turns golden again. These changes directly affect how you look on camera if you do not compensate.
The simplest approach is to use curtains or blinds to control incoming natural light. Sheer white curtains diffuse sunlight beautifully and reduce harsh shadows. They also stabilize the light level so your webcam does not constantly readjust its exposure.
If your office gets strong direct sunlight at certain times, close the blinds partially and rely more on your smart lighting. Your calibrated smart bulbs deliver consistent light regardless of weather or time of day.
Some advanced smart bulbs offer a daylight adaptation feature that gradually shifts color temperature from cool in the morning to warm in the evening. While this is great for general comfort, turn off this feature during video calls. You want a fixed color temperature for consistent on camera appearance.
Check your webcam preview at different times of the day to understand how natural light affects your setup. You may want to create two scenes: one for daytime calls with reduced smart light brightness (since the window helps) and one for evening calls with full smart light output.
Calibrating Your Webcam White Balance Manually
Most webcams use automatic white balance, and this works reasonably well with consistent smart lighting. But auto white balance can shift unexpectedly during a call if light conditions change even slightly.
Manual white balance locks your color settings and prevents mid call shifts. Many video conferencing platforms and webcam software offer a manual white balance option. Open your webcam settings and look for white balance controls. Set the value to match your smart light color temperature.
For example, if your smart bulbs are set to 5000K, set your webcam’s white balance to 5000K. This tells the camera exactly what “white” looks like under your current lighting. Colors will appear accurate and consistent throughout your entire call.
If your webcam software does not offer Kelvin based white balance, use the preset options. Select “Daylight” or “Fluorescent” depending on which is closest to your smart bulb setting. Some apps also let you set a custom white point by pointing the camera at a white sheet of paper and clicking a calibration button.
Testing this once saves you from the embarrassment of your face shifting between orange and blue tones during an important presentation.
Optimizing Background Lighting for Depth and Professionalism
Your face lighting is only half the picture. The background behind you also needs attention for a truly professional look. A completely dark background makes you look like a floating head. An overly bright background draws attention away from you.
Aim for a background that is slightly dimmer than your face. Use a smart bulb placed behind you or to the side to gently illuminate your background wall, bookshelf, or decor. Set this accent light to about 200 to 400 lumens and match its color temperature to your other lights.
Colored accent lighting can add personality but use it carefully. A subtle warm glow behind you creates a sense of depth and warmth. Bright RGB colors look fun for casual calls but unprofessional for client meetings. Save your colorful scene for happy hours and use neutral tones for business.
Smart LED strips placed behind a monitor or along a shelf can provide gentle, indirect background illumination. Keep the brightness low so the light adds depth without competing with your key light. The goal is to create visual separation between you and the background.
Troubleshooting Common Smart Lighting Problems on Video
Even with careful calibration, problems can appear. Here are the most common issues and their fixes.
Flickering on camera happens when your smart bulb’s refresh rate conflicts with your webcam’s frame rate. Most modern smart bulbs operate at frequencies that avoid visible flicker, but cheaper models may cause it. If you see flickering, try changing your webcam frame rate from 30fps to 24fps or vice versa. Switching to a higher quality smart bulb usually solves this permanently.
Color inconsistency between bulbs from the same brand can occur. Two bulbs set to 4500K may not look identical. This is normal for consumer grade products. Place the closer matching pair as your key and fill lights. Use any outlier as a background accent light where small color differences are less noticeable.
Sudden brightness changes during a call usually indicate your smart bulb lost its connection to the app. Ensure your Wi Fi is stable in your office area. If your smart bulbs use a hub, place the hub close to your office. Consider using bulbs that support Zigbee or Thread protocols, which create a mesh network and maintain more reliable connections than standard Wi Fi bulbs.
If your webcam image still looks grainy despite good lighting, check whether your webcam lens is clean. A smudge or layer of dust scatters incoming light and reduces clarity.
Testing and Fine Tuning Your Calibrated Setup
Calibration is not a one time event. Test your setup regularly and adjust as conditions change. Seasons change the angle and intensity of sunlight coming through windows. Furniture rearrangements shift how light bounces around the room. Even replacing a wall color can alter your lighting environment.
Record a short test video of yourself before an important call. Play it back and evaluate your skin tone, shadow patterns, and background appearance. Ask a trusted colleague for honest feedback about how you look on camera. Sometimes we miss details that others notice immediately.
Most video conferencing platforms let you preview your video before joining a call. Use this feature every time. It takes five seconds to confirm your lighting looks correct. If something seems off, open your smart home app and make quick adjustments before the meeting starts.
Keep a simple log of your settings. Note the Kelvin value, brightness percentage, and position of each light. If you accidentally change a setting or reset a bulb, you can restore your calibrated values instantly.
Automating Your Entire Video Call Lighting Workflow
The ultimate goal of smart lighting calibration is a setup that requires zero thought before each call. Automation makes this possible. Combine your calibrated light scene with other smart home actions for a seamless experience.
Create a routine in your smart home app that does the following when activated: turns on your key light, fill light, and background light at their saved settings, closes smart blinds halfway if you have them, and sets your monitor brightness to your preferred level. Some users even add a step that changes a smart bulb outside their office door to red, signaling to family members that they are in a meeting.
Calendar integration takes this one step further. Connect your smart home platform to your work calendar. Five minutes before each scheduled video call, your lights automatically switch to meeting mode. When the calendar event ends, lights return to your default setting.
You can also use physical triggers. A smart button on your desk can toggle between normal office lighting and your calibrated video call scene with a single press. This gives you manual control without needing to open any app.
Frequently Asked Questions
What color temperature is best for video conferencing?
A color temperature between 4000K and 5500K works best for video calls. This range produces natural skin tones and aligns closely with daylight, which helps your webcam render accurate colors. Avoid going below 3500K (too orange) or above 6500K (too blue) for professional calls.
How many lumens do I need for a video call?
You need at least 800 lumens from your key light for a well lit video call. This provides enough brightness to illuminate your face clearly without causing noise or grain in the webcam image. Fill lights and background lights can be dimmer, around 200 to 500 lumens each.
Can I use regular smart bulbs for video conferencing or do I need special lights?
Regular smart bulbs work well for video conferencing as long as they have adjustable color temperature and a CRI of 90 or higher. You do not need studio grade equipment. Standard smart bulbs from popular brands give you enough control over brightness and Kelvin values to create a professional setup at home.
How do I stop my smart lights from flickering on camera?
Flickering usually happens because the bulb’s PWM (pulse width modulation) frequency conflicts with your webcam’s frame rate. Switch your webcam to a different frame rate, such as from 30fps to 24fps. If the flicker continues, upgrade to a higher quality smart bulb that operates at a higher PWM frequency above the threshold visible to cameras.
Should I turn off overhead lights during video calls?
You do not need to turn off overhead lights completely, but you should dim them to about 20 to 30 percent. Strong overhead lighting creates harsh shadows under your eyes and nose. Use your overhead light as subtle ambient fill and rely on your calibrated key light and fill light for primary face illumination.
How often should I recalibrate my smart lighting setup?
Recalibrate your smart lighting whenever you change your office layout, swap bulbs, or notice that you look different on camera than expected. Seasonal changes in natural light may require minor adjustments every few months. A quick five minute check before important calls ensures your setup stays consistent.

Hi, I’m Simmy — the founder and voice behind AI Gadgets Insight. I’m a tech enthusiast who loves exploring the latest AI gadgets, smart devices, and innovative tech products. I started this blog to help people make smarter tech choices with honest reviews, easy-to-follow comparisons, and practical buying guides.