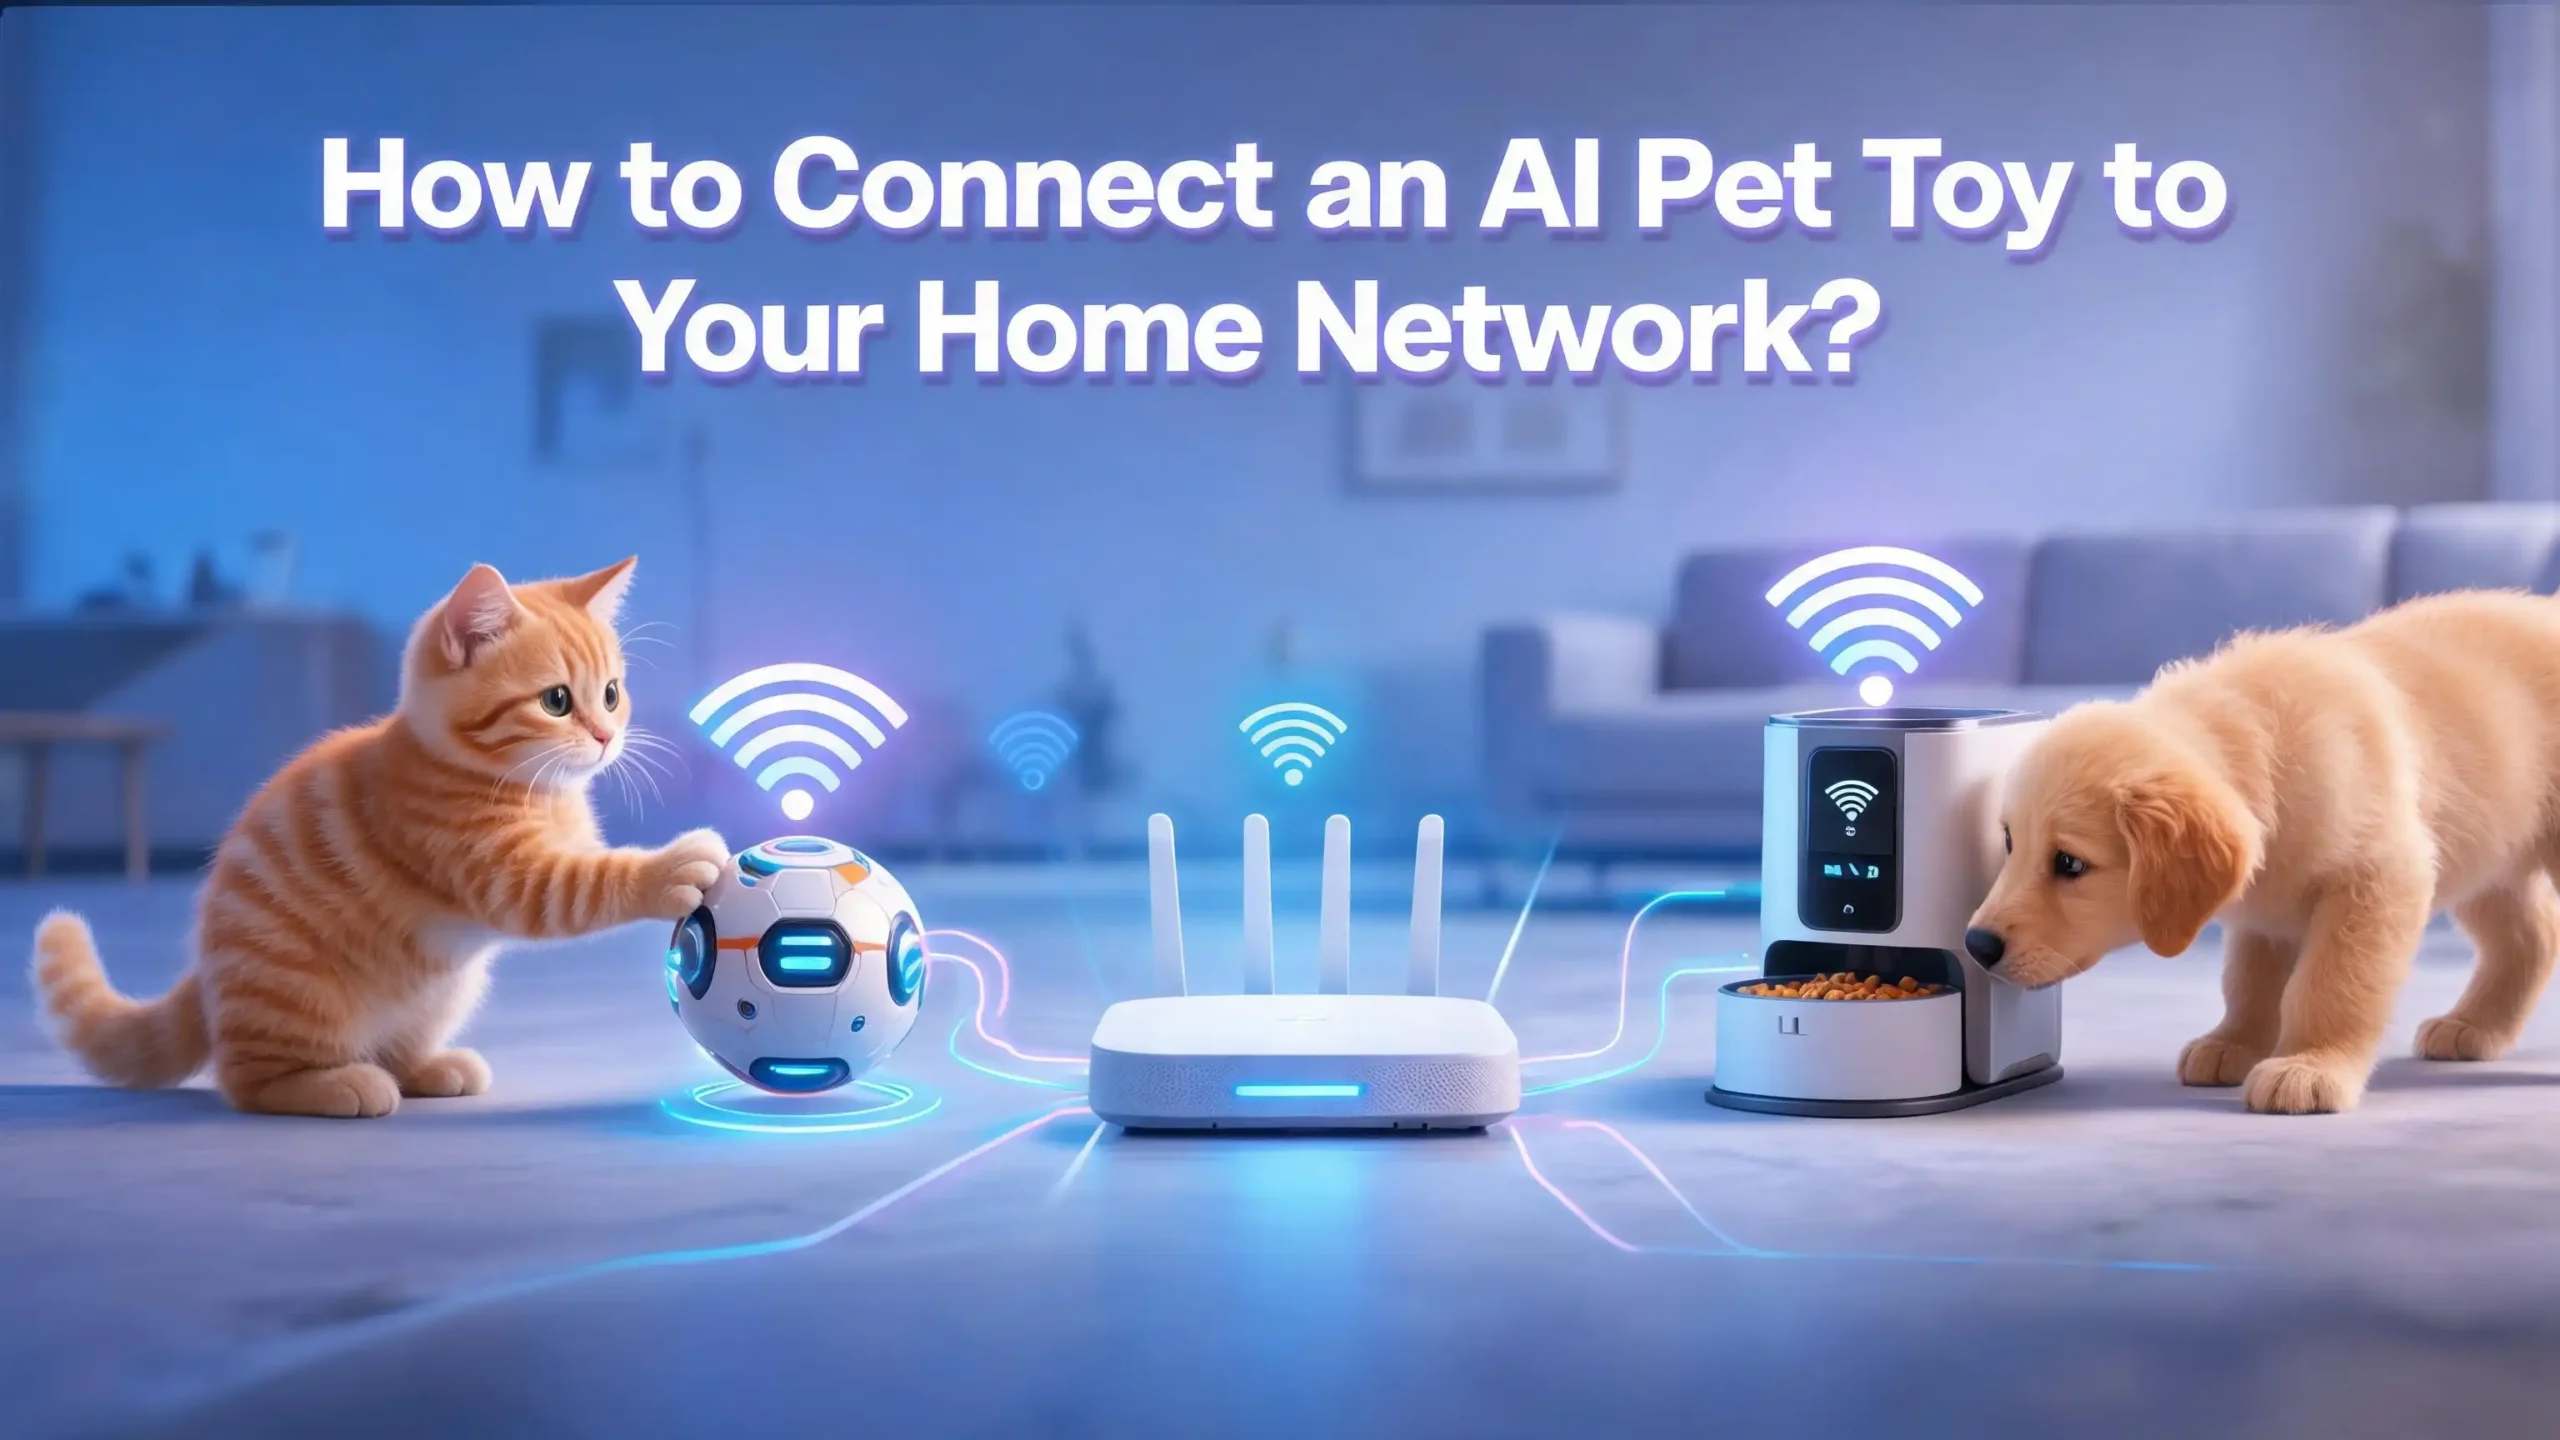
How to Connect an AI Pet Toy to Your Home Network?
Your new AI pet toy promises hours of fun for your furry friend. It can toss treats, chase laser dots, record videos, and even talk to your pet while you are away.
But none of that magic works until the toy joins your home network. Many owners get stuck right here. The app spins, the light blinks red, and the toy refuses to connect.
This guide fixes that problem. You will learn how to connect your AI pet toy to WiFi the right way the first time. You will also learn how to solve the most common connection errors that frustrate pet owners.
The steps work for popular AI toys like interactive robot companions, treat tossing cameras, and smart laser players. Let us get your toy online and your pet happy.
Key Takeaways
- Most AI pet toys only work on 2.4GHz WiFi. They cannot see or join a 5GHz network. Splitting your bands or finding the correct network name is often the single biggest fix.
- Download the official companion app first. The app guides the entire setup. You cannot connect the toy through your phone WiFi settings alone.
- Keep your phone, the toy, and the router close together during setup. Distance and walls cause weak signals and failed pairing.
- Your WiFi password must be exact. A single wrong character is the top reason setup fails. Watch for capital letters and special symbols.
- A reset button saves the day. When a toy will not connect, a quick reset clears old data and lets you start fresh.
- Firmware updates matter. An outdated toy may refuse newer phones or networks. Update it through the app right after the first connection.
What You Need Before You Start the Connection
Good preparation makes the whole process smooth. Gather a few things before you touch any buttons. This saves time and stops most errors before they happen.
First, fully charge your AI pet toy or place it on its charging dock. A low battery can cancel the setup halfway through. Many toys refuse to pair when power drops below a safe level.
Second, get your WiFi network name and password ready. Write them down and check each letter. Passwords are case sensitive, so a big “A” is not the same as a small “a”. This one detail blocks thousands of users every day.
Third, charge your phone and connect it to your home WiFi. The app will use your phone connection to share network details with the toy. Your phone should be on the same 2.4GHz network you want the toy to use.
Fourth, find a quiet spot near your router. Stay within ten feet of the router during the first setup. You can move the toy anywhere later once it connects.
Finally, clear a little time. The first connection usually takes five to fifteen minutes. Rushing causes mistakes, and mistakes mean starting over. A calm setup beats a frustrated retry every time.
Why Most AI Pet Toys Only Work on 2.4GHz WiFi
This single topic causes more failed setups than anything else. Almost every AI pet toy connects only to 2.4GHz WiFi, not 5GHz. Understanding why helps you fix it fast.
The 2.4GHz band travels further and passes through walls better. Smart home gadgets value range and stability over raw speed. Your toy does not need to stream 4K movies, so it picks the slower but steadier lane. Think of 2.4GHz as a calm side road and 5GHz as a busy highway.
The 5GHz band is faster but reaches shorter distances. Toys with small antennas often cannot detect 5GHz signals at all. When your phone uses 5GHz during setup, the toy and phone fail to talk to each other.
Many modern routers blend both bands under one network name. This feature is called band steering or smart connect. It confuses smart devices badly. The toy hears the 5GHz signal, gets lost, and the connection fails.
To solve this, log into your router settings. Separate the two bands so each has its own name, like “MyHome24” and “MyHome5”. Then connect both your phone and the toy to the 2.4GHz name. If you cannot split the bands, turn off 5GHz for a few minutes during setup. Switch it back on after the toy connects.
Step One: Download the Official Companion App
Your AI pet toy needs its own app to function. You cannot connect most toys through your phone WiFi menu alone. The app handles pairing, network sharing, and all the fun features.
Open the App Store on iPhone or the Google Play Store on Android. Search for the exact app name printed in your toy manual or on the box. Brand apps often share similar names, so match it carefully to avoid the wrong download.
Check the developer name before you install. The real app should come from the toy maker, not a random copy. Fake apps can waste your time or collect your data. Read a few recent reviews to confirm it works with current phones.
Once installed, open the app and allow the permissions it requests. Most pet toy apps need Bluetooth, location, and local network access. These permissions sound scary, but they serve a real purpose. Location access lets the app see nearby WiFi networks. Bluetooth helps the app find the toy during pairing.
Next, create an account. Use a real email address you can check. Many apps send a verification code or link to activate your account. Skip this step and you cannot move forward.
Keep the app updated over time. Older app versions sometimes break with new phone software. An updated app prevents many surprise problems down the road.
Step Two: Power On and Reset Your AI Pet Toy
Now bring your toy to life. Press and hold the power button until you see a light or hear a startup sound. Each toy signals readiness in its own way, so check the manual for the exact cue.
Watch the indicator light closely. A blinking light usually means the toy is ready to pair. A solid light often means it is already connected to something. A red light may signal an error or low battery.
If your toy is brand new, it should enter pairing mode on its own. If you used the toy before or it shows a strange light, perform a reset to clear old settings. A reset wipes any saved network so you can start clean.
Find the reset button. It often sits in a small hole and needs a pin or paperclip to press. Hold the reset button for five to seven seconds until you hear a beep or see a flashing light. This confirms the reset worked.
Some toys reset through a button combination instead. For example, you might hold power and another button together. Check your manual for the exact reset method for your model.
After the reset, the toy returns to pairing mode. The light should blink again, telling you it is ready to join your network. Now you can move to the next step with a fresh start.
Step Three: Connect the Toy to Your WiFi Through the App
This is the main event. Open the app and look for an option like “Add Device” or “Connect New Toy.” Tap it to begin the pairing process.
The app will scan for nearby toys. Keep your toy close to your phone so the app finds it quickly. If the toy does not appear, confirm it is still in pairing mode with a blinking light.
When the toy shows up, tap to select it. The app then asks for your WiFi details. Choose your 2.4GHz network from the list and type the password carefully. Double check every character before you continue.
Some toys connect through Bluetooth first, then hand the link over to WiFi. Let the app finish each stage without closing it. Switching apps or locking your phone can break the process midway.
The app sends your network details to the toy. Wait patiently while the light changes from blinking to solid. A solid light usually means success. The app should also show a confirmation message.
If the connection fails, the app often explains why. Read the error message, fix the issue, and try again. Common fixes include checking the password, moving closer to the router, and confirming the 2.4GHz band.
Step Four: Use the QR Code Pairing Method
Many AI pet toys with cameras use a clever QR code method to connect. The toy actually reads a code from your phone screen using its own camera. This step replaces typing network details directly into the toy.
After you enter your WiFi name and password in the app, it creates a QR code. This code holds your network details in a pattern the toy camera can scan. The app then asks you to show this code to the toy.
Hold your phone steady in front of the toy lens. Keep the screen about two to four inches away from the camera. Too close blurs the code. Too far makes it unreadable.
Wait for the toy to react. A beep or voice prompt usually confirms the toy scanned the code. Some toys say “scan successful” or play a short tune. Hold the phone still until you hear this signal.
Clean your phone screen first if it is dirty or smudged. Fingerprints and glare can block the camera from reading the code. Turn up your screen brightness to help the camera see clearly.
If scanning fails, refresh the code in the app and try again. Adjust the distance slowly until the toy catches the pattern. This method feels odd at first, but it works well once you find the right spot.
How to Fix the Most Common Connection Errors
Even careful setups sometimes fail. Here are the top problems and their fixes. Work through these one at a time until your toy connects.
The most frequent error is a wrong WiFi password. Retype it slowly and watch for capital letters, numbers, and symbols. Tap the eye icon to reveal the password and confirm each character.
The second common issue is the 5GHz band trap. If your phone uses 5GHz, the toy cannot follow. Switch your phone to the 2.4GHz network before you start pairing again.
A weak signal causes many failures too. Move the toy and phone within ten feet of the router during setup. Thick walls, microwaves, and metal objects block signals. Clear the path between the toy and router.
Sometimes the app simply freezes. Close the app fully, reopen it, and start the connection over. A fresh app session clears small glitches. Restart your phone if the freeze continues.
An “offline device” message often appears after a network change. Delete the old device in the app, reset the toy, and add it as new. This clears stale data that confuses the connection.
If nothing works, restart your router. Unplug it for thirty seconds, then plug it back in. A router refresh fixes many hidden network problems instantly.
What to Do When the Toy Connects but Keeps Dropping Offline
A toy that connects then drops out is annoying. This usually points to signal strength or power issues rather than setup mistakes. Let us stabilize the link.
First, check the distance from the router. A toy far from the router loses signal easily, especially through walls. Move the toy closer or move the router to a central spot in your home.
Next, look at your battery and charging habits. Some toys disconnect to save power when the battery runs low. Keep the toy charged or placed on its dock between play sessions.
Crowded WiFi channels cause random drops. Many homes share the same 2.4GHz channels, creating traffic jams. Log into your router and switch to a less busy channel like one, six, or eleven.
Too many devices on one network also strain the connection. Smart bulbs, plugs, cameras, and phones all compete for bandwidth. A mesh WiFi system or a WiFi extender can ease this load.
Old firmware on the toy creates instability as well. Check the app for a firmware update and install it. Updates often fix the exact bugs that cause repeated disconnects.
Finally, give the toy a fixed IP address through your router settings. This stops the router from shuffling its connection and dropping the toy. This advanced trick brings strong, lasting stability.
How to Update Your AI Pet Toy Firmware
Firmware is the software inside your toy. Keeping it current fixes bugs, adds features, and improves connection stability. Skipping updates leads to many strange problems.
Connect the toy to WiFi first, since updates download over the network. Open the app and look for a “Firmware” or “Device Update” option in the settings menu. The app usually alerts you when a new version waits.
Tap update and keep the toy still during the process. Do not turn off the toy or close the app while the firmware installs. An interrupted update can damage the toy and require a full reset.
Keep the toy charged or on its dock during the update. A power loss midway can corrupt the firmware badly. Many toys block updates entirely if the battery sits too low.
The update may take several minutes. The toy might restart on its own once the install finishes. Wait for the light to return to its normal solid state before you use it.
Check for updates every few weeks. Makers release fixes for new phone systems and new router behaviors over time. A toy that worked yesterday might need an update after your phone upgrades. Staying current keeps your toy friendly with the whole home network.
How to Connect Your AI Pet Toy to a New WiFi Network
Maybe you switched internet providers or got a new router. Your toy still remembers the old network and will not connect on its own. You must teach it the new details.
Open the app and find your toy in the device list. Look for a settings or gear icon next to the toy name. Inside, you should see a network or WiFi option.
Some apps let you change the network directly. Tap “Change WiFi” and enter your new network name and password. Follow the prompts as you did during the first setup.
If your app lacks that option, take the longer route. Delete the toy from the app, then reset the toy with the reset button. This wipes the old network from the toy memory.
After the reset, the toy returns to pairing mode with a blinking light. Add it again as a brand new device through the app. Enter your new 2.4GHz network details this time.
Remember the golden rule once more. Your phone must use the new 2.4GHz network during this process. A mismatch between phone and toy networks blocks the connection again.
Test the toy features after reconnecting. Toss a treat, start the camera, or play a game to confirm everything works. A quick test saves you from surprises later.
How to Secure Your AI Pet Toy on the Home Network
A connected toy can be a privacy concern, especially toys with cameras and microphones. A few simple habits keep your home and pet data safe.
Start with a strong WiFi password. A weak password lets strangers reach every device on your network, including the toy. Use a long mix of letters, numbers, and symbols.
Change the default account password in the app. Many people leave the first password they set and never update it. A fresh, unique password protects your live camera feed from snoopers.
Turn on two factor authentication if the app offers it. This adds a second code step that blocks unwanted logins. It is one of the strongest protections you can enable.
Keep both the app and firmware updated. Updates patch security holes that hackers try to use. An outdated toy is an open door, so close it with regular updates.
Consider placing smart toys on a guest network. A separate network keeps the toy away from your phones and computers. If the toy is ever compromised, your main devices stay safe.
Finally, cover or unplug camera toys when not in use. Privacy comes from control, and you hold that control. These small steps give you peace of mind while your pet enjoys the fun.
Tips to Get the Best Performance From Your Connected Toy
Once your toy is online, a few habits keep it running smoothly. Good network care means fewer dropouts and happier playtime.
Place your router in a central, open spot. Signals spread evenly from the middle of your home. Avoid hiding the router in a closet or behind a TV.
Keep the toy in a strong signal zone. Check the app for a signal strength reading and pick a good play area. Weak corners of the house cause lag and disconnects.
Restart your router every week or two. A quick reboot clears clutter and refreshes every connection. This simple habit prevents many slow downs before they start.
Limit how many devices crowd your 2.4GHz band. Move phones and laptops to 5GHz so the toy gets a clear lane. This balance helps both your toy and your other gadgets.
Watch your home internet speed. A slow plan struggles when the toy streams video and tosses treats. Upgrade your plan if many smart devices share the line.
Clean the toy camera lens and charging contacts often. Dust and dirt block signals and slow charging. A clean toy performs better and lasts longer. These small efforts add up to smooth, reliable fun for your pet.
Frequently Asked Questions
Why will my AI pet toy not connect to my WiFi?
The most common reason is the 5GHz band problem. Most toys only support 2.4GHz WiFi. Switch your phone to the 2.4GHz network and try again. Other causes include a wrong password, weak signal, or a toy that needs a reset.
Can I connect my AI pet toy without the app?
No, almost all AI pet toys need their official app to connect. The app shares your network details and controls the features. You cannot pair the toy through your phone WiFi settings alone. Download the correct app from your app store first.
Why does my pet toy keep disconnecting from WiFi?
This usually points to a weak signal, low battery, or crowded network. Move the toy closer to the router, keep it charged, and update its firmware. Switching your router to a less busy channel often stops random drops too.
Do AI pet toys work on 5GHz WiFi?
Most do not. The majority of AI pet toys only connect to 2.4GHz WiFi because that band reaches further and stays stable. Always check your toy manual, but plan to use 2.4GHz for the best results.
How do I reset my AI pet toy?
Find the reset button, often inside a small hole. Press and hold it for five to seven seconds until you hear a beep or see a flashing light. Some toys use a button combination instead, so check your manual for the exact method.
Is it safe to leave my AI pet camera toy connected all day?
Yes, if you secure it properly. Use a strong WiFi password, update the firmware, and turn on two factor login. Place camera toys on a guest network for extra safety. Cover or unplug the camera when you do not need it.
Why does the QR code scan keep failing during setup?
The code may be too close, too far, or blurry. Hold the phone two to four inches from the camera and clean the screen. Turn up your screen brightness and refresh the code in the app if it still fails to scan.

Hi, I’m Simmy — the founder and voice behind AI Gadgets Insight. I’m a tech enthusiast who loves exploring the latest AI gadgets, smart devices, and innovative tech products. I started this blog to help people make smarter tech choices with honest reviews, easy-to-follow comparisons, and practical buying guides.