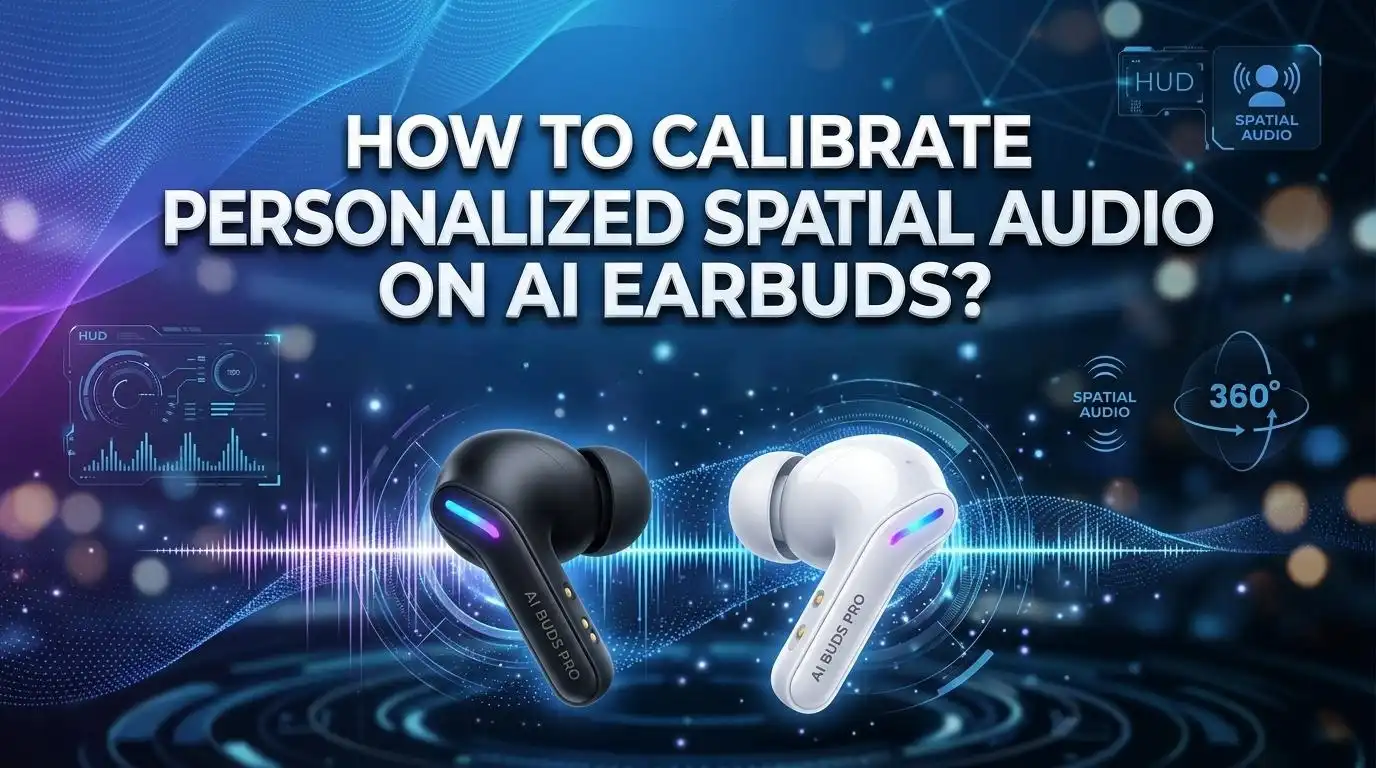
How to Calibrate Personalized Spatial Audio on AI Earbuds?
Personalized spatial audio can make music, films, games, and calls feel wider, deeper, and more natural. But the feature only works well after proper calibration. If setup is rushed, the sound can feel strange, off center, thin, or even tiring.
This guide shows you how to calibrate personalized spatial audio on AI earbuds in a clear and practical way.
You will learn what to check before setup, how to get a proper fit, how to run face or ear scans, how to test fixed and head tracked modes, and how to fix common problems fast.
Key Takeaways
- Start with fit before software. A weak seal causes the biggest calibration problems. If bass sounds light or voices drift, test ear tip size first. A better seal often improves spatial audio faster than any app setting.
- Use the right source content. Personalized spatial audio needs compatible audio and compatible apps. Many phones and earbuds work best with Dolby Atmos, 5.1 audio, or supported film and TV apps. If the source is flat, the effect will also feel flat.
- Calibrate in a calm and steady setup. Keep your phone updated, charge your earbuds, clean the sensors, sit still, and hold your device at the right angle during the scan. Small setup errors can create a poor sound map.
- Compare Fixed and Head Tracked modes. Fixed mode often feels better for music. Head Tracked mode often feels better for films and supported video. Test both with the same clip and choose the one that feels stable.
- Recalibrate when things change. New ear tips, firmware updates, a new phone, or repeated drift are all good reasons to run calibration again. A fresh setup often fixes sound that suddenly feels off without any hardware problem.
- Do not force the feature. If personalized spatial audio makes voices weak or the center image unstable, turn it off and test standard stereo for a few minutes. Good audio should feel easy to follow. If it feels distracting, your best fix may be a simpler mode.
Why Personalized Spatial Audio Needs Calibration in the First Place
Personalized spatial audio tries to map sound around your head and ears. The system uses ear shape, face position, motion sensors, and software processing to place voices and effects in space. That is why two people can hear the same earbuds very differently.
Your ears reflect sound in small ways. Your head shape also changes how sound reaches each ear. A good calibration helps the earbuds match those cues better. That is the main reason the feature can sound wide and clear for one person, but odd for another.
Many brands handle this in different ways. Apple uses a face and ear scan with the TrueDepth camera on supported devices. Sony uses ear shape analysis in its app for supported products. Google and Samsung focus more on spatial audio settings, head tracking, and supported content, though the final result still depends on fit and sensor accuracy.
Pros: Calibration can improve center focus, depth, and realism. It can also reduce the fake or hollow sound that some people hear with default spatial effects.
Cons: Calibration takes time, needs compatible hardware, and may still sound worse if the fit is poor. That is why setup order matters. You should always fix fit and source settings before you judge the feature.
Think of calibration as a map, not magic. If the map starts with bad input, the result will also be bad.
Check Device, App, and Content Support Before You Do Anything Else
A lot of calibration problems are really support problems. Users often think the feature is broken, but the phone, earbuds, app, or media file does not fully support the format. That creates weak or missing spatial effects.
Start by checking your phone software version and your earbud firmware. Then check whether your model supports personalized spatial audio, plain spatial audio, or head tracking only. These are not always the same feature. That small difference matters a lot.
Apple says Personalized Spatial Audio setup needs a supported device and an iPhone with iOS 16 or later plus TrueDepth camera support. Google says head tracked spatial audio with Pixel Buds Pro needs supported Pixel phones and current firmware. Samsung says 360 audio support depends on compatible Galaxy Buds, updated software, app support, and connection conditions. Sony says its 360 Reality Audio setup needs compatible headphones, the Sound Connect app, and compatible music services.
Now check the content itself. Spatial audio usually works best with films and shows that offer 5.1 or better audio, or music apps that support a real spatial format. Google notes support on Pixel devices for movies and TV shows from supported platforms with 5.1 or higher audio tracks. Apple also notes that supported apps and content are required.
Pros: This method is quick and prevents wasted time.
Cons: It feels basic, but skipping it creates most false alarms.
Get the Ear Tip Fit Right Before You Touch Calibration Settings
Fit is the base of everything. If the earbuds sit too loose, your bass drops, outside noise leaks in, and the spatial effect loses shape. Then calibration tries to solve a problem that is really mechanical, not digital.
Start with the default ear tips. Insert the earbuds, then play a familiar voice track. If the voice sounds thin or moves around too much, try a larger tip. If the bud feels tight, painful, or keeps pushing out, try a smaller tip. Do not assume both ears need the same size.
Apple says a good ear tip seal improves noise control and gives music a richer bass sound. It also says users may need different sizes for the left and right ears, and it offers an Ear Tip Fit Test or Acoustic Seal Test on supported models.
Here is a simple fit check. Talk out loud with the buds in. Then shake your head gently. Next, chew once or twice and smile. If the buds break seal or shift, the fit is not stable enough for a good spatial map.
Pros of using a fit test: It gives quick feedback and helps remove guesswork. It also improves comfort and sound at the same time.
Cons of using a fit test: It cannot fully measure long session comfort. Some people pass the test but still need a tip change after ten minutes.
The best rule is simple. First choose the tip that gives a secure seal, full bass, and low pressure. Then run calibration. If you do it in the other order, your result may never sound right.
Prepare the Room, Your Posture, and the Earbuds Before Calibration
Good calibration needs clean input. That means a stable body position, clean sensors, enough battery, and a calm setup. People often rush through the scan while walking, talking, or holding the phone at a strange angle. That leads to a weak profile.
Before you start, clean the earbuds with a dry soft cloth. Remove wax from the mesh if needed. Update the earbud firmware and the phone software. Charge both enough so the process does not stop halfway. Then sit down in a room with steady light.
If your earbuds use motion based effects, sensor accuracy matters. Apple explains that head tracked mode changes the sound so it feels like it stays anchored to the device. Samsung says its intelligent motion tracking sensor changes left and right sound as your head moves. Google also says head tracking is a separate switch and works best with the right hardware and setup.
Keep your neck straight. Face forward. Hold the phone where the app asks. Do not tilt your chin too high. Do not let hair block your ears if your system needs an ear scan. If you wear large earrings, remove them for the scan.
Pros: This method costs nothing and improves accuracy fast.
Cons: It feels slow, and many people skip it because it looks too simple.
But this step is often the reason one calibration feels natural and the next one feels wrong.
Run the Face and Ear Scan Slowly and Correctly
If your earbuds use a camera based setup, slow movement matters more than speed. The system is trying to read the shape of your face and ears from several angles. Fast movement or poor framing can create an uneven sound profile.
Apple says users should hold the iPhone about 12 inches in front of the face for the front capture. Then the user should move the head slowly in a circle. After that, the user captures the right ear and left ear by changing hand position and turning the head slowly with help from audio and visual cues.
The practical lesson is simple. Follow the app exactly. Do not guess the angle. Do not move too fast. Do not try to finish in one quick motion. If the app asks for the right ear first, give it a clean view with your hair moved back.
If the result sounds odd after setup, erase the profile and repeat the scan in better light. Apple says users can stop using Personalized Spatial Audio and set it up again. That is useful if you rushed the first run or changed phones.
Pros of camera based calibration: It can build a more personal sound map and often gives a stronger center image.
Cons of camera based calibration: It depends on lighting, framing, and supported hardware. Some users also feel the result is subtle rather than dramatic.
A good scan should feel boring and steady. That is a good sign. The more careful you are here, the less fixing you need later.
Use App Based Ear Shape or Hearing Setup if Your Brand Offers It
Some AI earbuds do not use a face scan. Instead, they use ear shape analysis, hearing tests, or app based personalization. This method can work very well, but only if you finish every step in the app and apply the result to the correct service.
Sony says users should complete Analyze ear shape first, then use Optimize apps in the Sony app. The optimization applies the ear shape information to a 360 Reality Audio compatible app from a supported music service.
This type of calibration is useful because it links your personal ear data to playback software. In plain words, the system is trying to match sound placement to your hearing shape instead of using one generic setting for everyone.
If your earbuds offer a hearing test, take it in a quiet room. Keep the volume at a safe level. Repeat the test if you got distracted. Then listen to a familiar vocal track and a film scene after the profile is saved. If voices become clearer and more centered, the profile likely helped.
Pros of app based testing: It is easy to repeat, easy to compare, and often works across several apps once saved.
Cons of app based testing: Results depend on user focus and a quiet space. A rushed hearing test can create a bad profile just as easily as a rushed face scan.
The best approach is to treat the app as a real calibration tool, not a pop up you tap through quickly.
Choose Between Fixed Mode and Head Tracked Mode the Smart Way
Many users think head tracked mode is always the best mode. That is not true. Sometimes it feels more real. Sometimes it feels distracting. The better choice depends on what you are doing.
Apple gives three listening modes. Off disables the effect. Fixed keeps spatial audio on without head tracking. Head Tracked keeps the sound anchored so it seems to stay with the phone or screen as you move.
Try this simple test. Watch the same one minute film scene in Fixed mode and then in Head Tracked mode. Turn your head left and right a little. If the sound feels natural and screen focused, head tracked mode is doing its job. If it feels like the center shifts too much, go back to Fixed.
For music, many people prefer Fixed mode because the mix stays stable. For films and shows, head tracked mode often adds a better screen anchor. Google also separates Spatial Audio and Head tracking as two settings, which shows that these are related but different choices.
Pros of Fixed mode: Stable, simple, and often better for long music sessions.
Cons of Fixed mode: Less motion realism for video.
Pros of Head Tracked mode: Stronger screen anchor and better film effect.
Cons of Head Tracked mode: More battery use on some devices and more chance of drift or distraction.
Use the mode that feels easiest to follow, not the mode that sounds most impressive for ten seconds.
Tune Source Audio Settings So the Calibration Has Better Material to Work With
A perfect calibration still sounds weak if the source audio is poor. Spatial systems need good input. That usually means supported apps, multichannel audio, and the right phone settings.
On Apple devices, Dolby Atmos playback settings can affect what you hear with supported content. Apple explains that users can choose Automatic or Always On for Dolby Atmos playback depending on device and connection conditions.
On Pixel devices, Google says spatial audio works with supported movies and TV shows from services that offer 5.1 or higher audio tracks. It also advises users to use content marked as Dolby audio or 5.1 and to keep the device steady for head tracked playback.
Samsung also notes that if 360 audio does not seem to work, one fix is to turn Dolby Atmos off on the phone in some cases. That sounds odd, but it shows a real point. Audio effects can stack in ways that hurt the result. Too many layers can blur the sound instead of helping it.
Pros of tuning source settings: Fast gains, clearer center image, and better depth.
Cons of tuning source settings: Menus differ by brand, and one setting that helps on one device may hurt on another.
The safe method is to test one change at a time. Change the source format, listen, then decide. Do not switch five settings at once.
Test the Result With a Simple Listening Checklist
After calibration, do not trust your first wow moment. Test the sound with a short checklist. A good calibration should stay useful after the first minute, not just sound flashy at first.
Start with a spoken voice track. The voice should feel centered and easy to follow. Then play a quiet acoustic song. Listen for stable left and right placement. After that, use a film scene with movement and background sound. Check whether the front image stays clear.
Now move your head slowly. If you are in head tracked mode, the sound should react in a controlled way. It should not jump, wobble, or feel late. Samsung describes 360 audio as changing left and right levels as you move your head. Apple says head tracked mode makes audio feel like it comes from the device. Those descriptions give you a good testing target.
Here is the fastest pass or fail check. Pass means voices stay centered, bass stays full, and turning your head does not break the illusion. Fail means vocals wander, the stage feels hollow, or the sound becomes tiring after a few minutes.
Be honest with yourself here. If plain stereo sounds better, use plain stereo for now. The goal is better listening, not forcing a feature that does not suit your ears or your current setup.
Fix the Most Common Problems After Calibration
If personalized spatial audio sounds wrong, the cause is usually one of five things. Bad fit, wrong source content, old firmware, sensor drift, or too many sound effects turned on at once. The good news is that these are easy to test one by one.
If the sound feels thin, change ear tips and rerun the fit test. If the center feels unstable, switch from Head Tracked to Fixed mode. If the effect feels weak, try supported 5.1 or Dolby content instead of random music clips. If the sound cuts out, move the phone closer and reduce wireless clutter.
Samsung says sound can cut out with 360 audio if the earbuds and phone are too far apart, and it recommends using them within arm’s reach in areas with fewer wireless networks. It also says users should connect the earbuds to a single device only in this case.
Google says users should check Bluetooth pairing, device volume, and firmware if sound problems continue with spatial audio.
Pros of this method: It is logical and fast. You find the fault instead of guessing.
Cons of this method: It takes patience because you must change one thing at a time.
The rule is simple. If you change everything at once, you learn nothing. If you change one factor at a time, the real problem usually appears fast.
Know When to Recalibrate, Reset, or Turn the Feature Off
Calibration is not a one time event forever. You should recalibrate after a firmware update, a phone change, a big fit change, or repeated drift. You should also recalibrate if you changed ear tips or if one ear now feels looser than before.
Apple allows users to stop using Personalized Spatial Audio and set it up again. That is useful after device changes or a poor first scan. Sony also separates ear shape analysis and app optimization, so repeating those steps can refresh a weak result.
But sometimes the right answer is to turn the feature off. That is not failure. It is good judgment. If you mainly listen to podcasts, plain stereo may sound more direct. If you walk outside a lot, head tracked mode may feel less stable than you want.
Pros of recalibrating: Low effort, often solves drift, and can restore a strong center image.
Cons of recalibrating: If the real problem is poor fit or unsupported content, a new scan will not help much.
Pros of turning the feature off: Cleaner sound for simple content, fewer moving parts, and less distraction.
Cons of turning the feature off: You lose the extra depth and screen anchor that works well for some films and games.
Use personalized spatial audio as a tool. If it helps, keep it. If it does not help, choose the simpler path and enjoy the sound.
FAQs
Can personalized spatial audio work without head tracking
Yes. Many devices offer a spatial mode without head tracking. Apple calls this Fixed mode, while some other brands simply separate the two switches. This is often the better option for music because the sound field stays more stable.
Why does spatial audio sound fake after calibration
The most common reasons are poor ear tip seal, unsupported content, bad scan conditions, or stacked sound effects. Start with ear tip fit, then test supported 5.1 or Dolby content, then compare Fixed and Head Tracked modes.
Do I need to recalibrate after changing ear tips
Yes, that is a smart idea. New ear tips can change insertion depth, seal, and the way sound reaches your ears. Even a small fit change can affect how the spatial image feels.
Which is better for films, Fixed or Head Tracked mode
Head Tracked mode often works better for films because it keeps the sound tied to the screen position. Fixed mode often works better for music because it feels steadier. The best choice depends on your ears and the content.
Can Android earbuds do this well too
Yes, but support varies more by brand, phone, app, and content format. Google, Samsung, and Sony all provide spatial audio or personalization tools on supported devices, but the exact setup path is different on each system.

Hi, I’m Simmy — the founder and voice behind AI Gadgets Insight. I’m a tech enthusiast who loves exploring the latest AI gadgets, smart devices, and innovative tech products. I started this blog to help people make smarter tech choices with honest reviews, easy-to-follow comparisons, and practical buying guides.